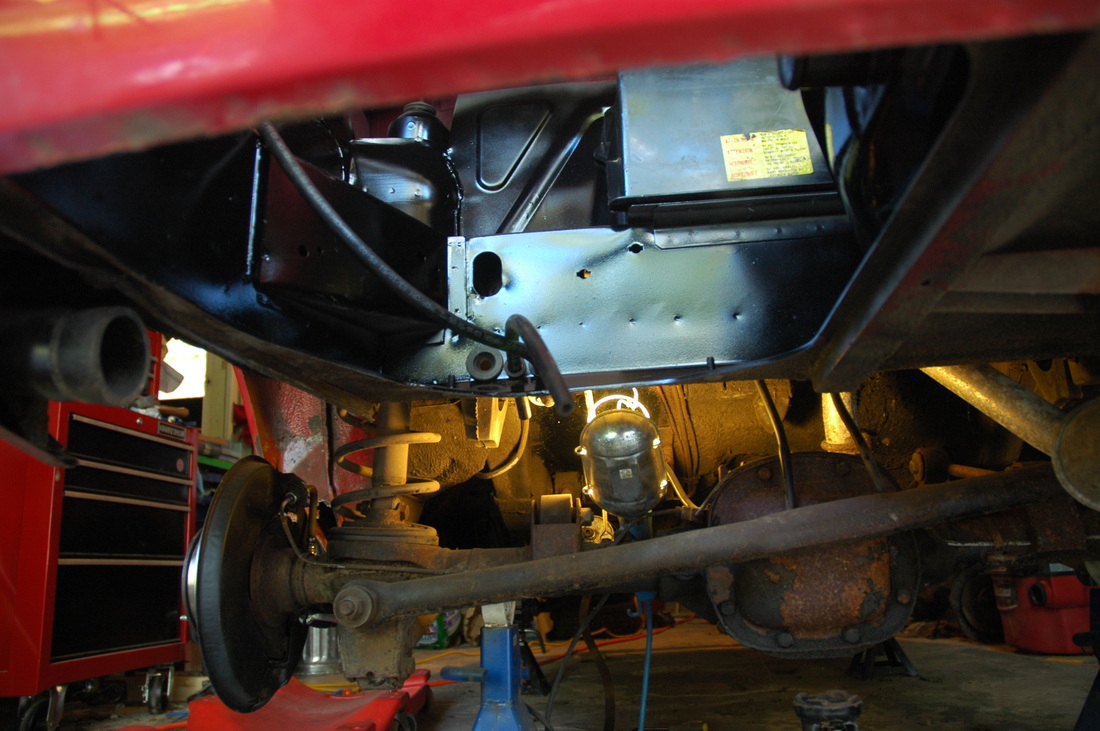
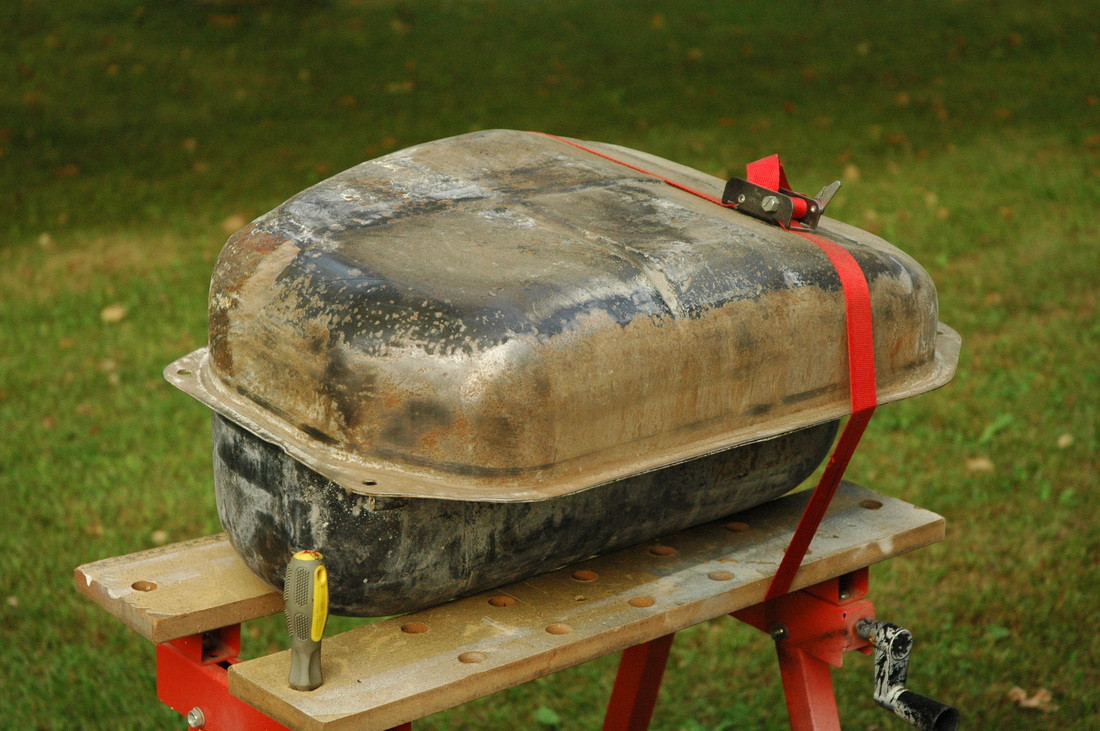
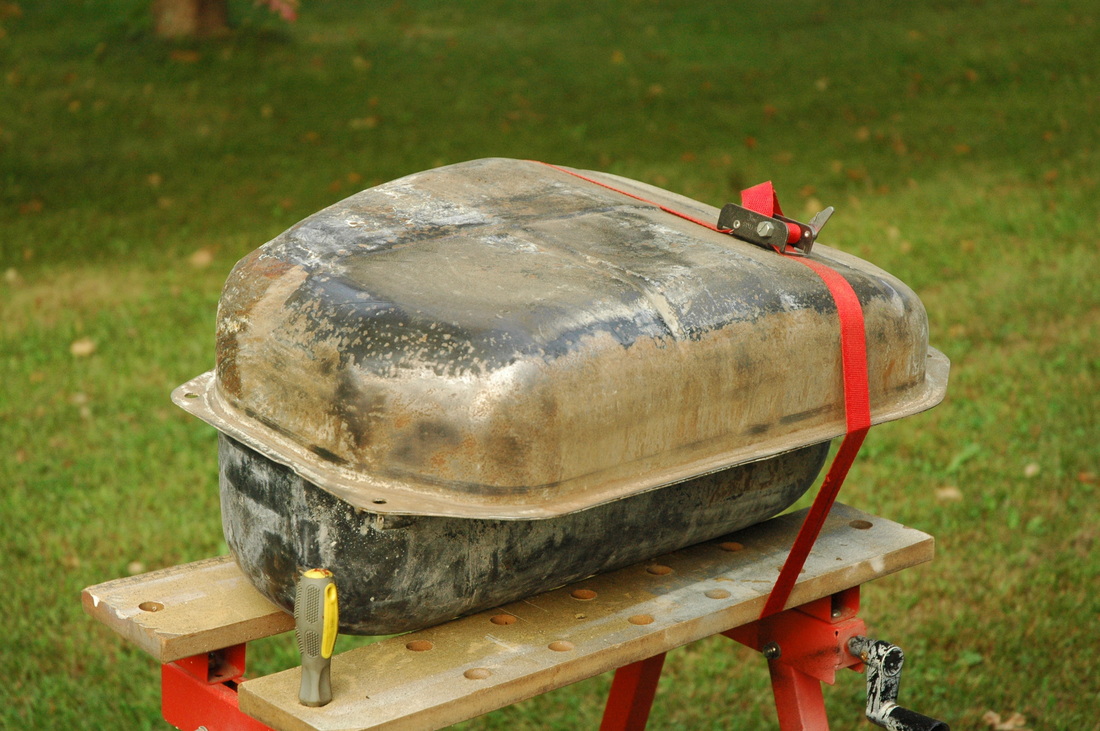
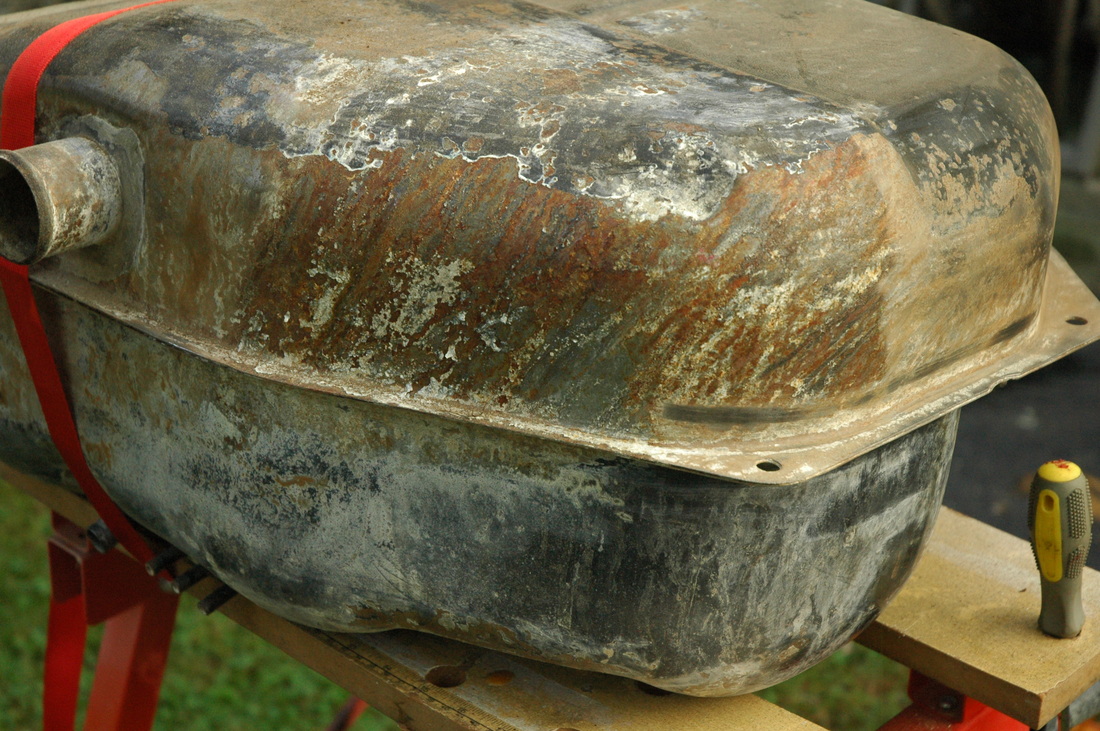
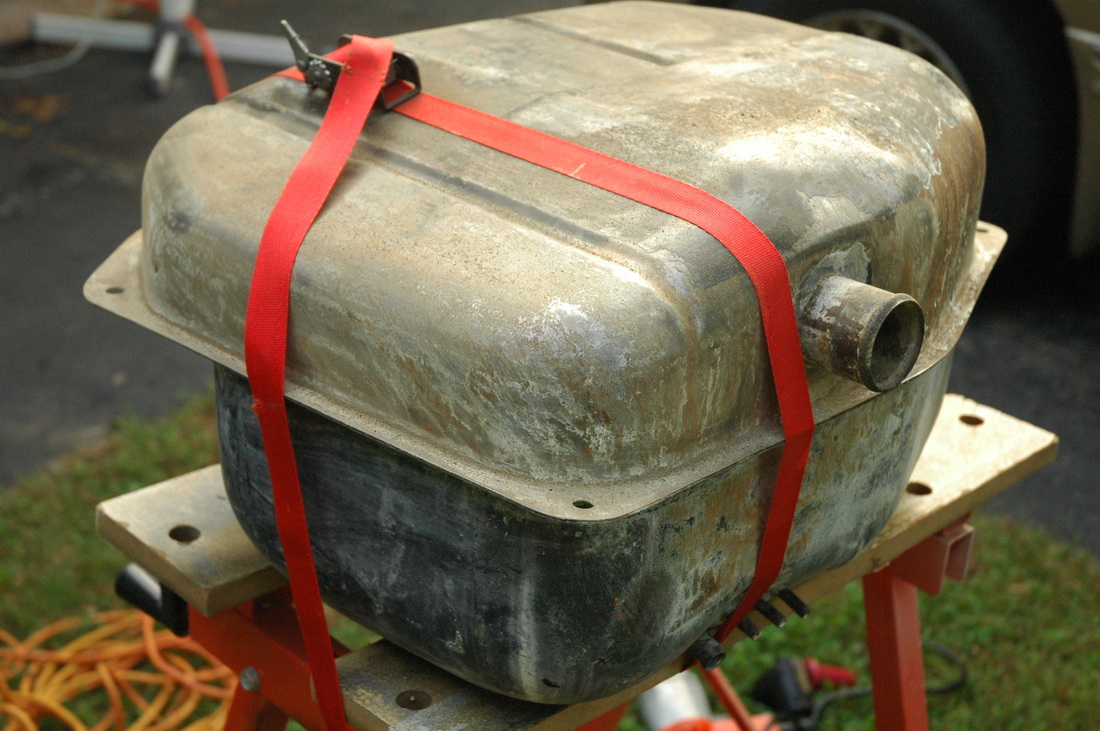
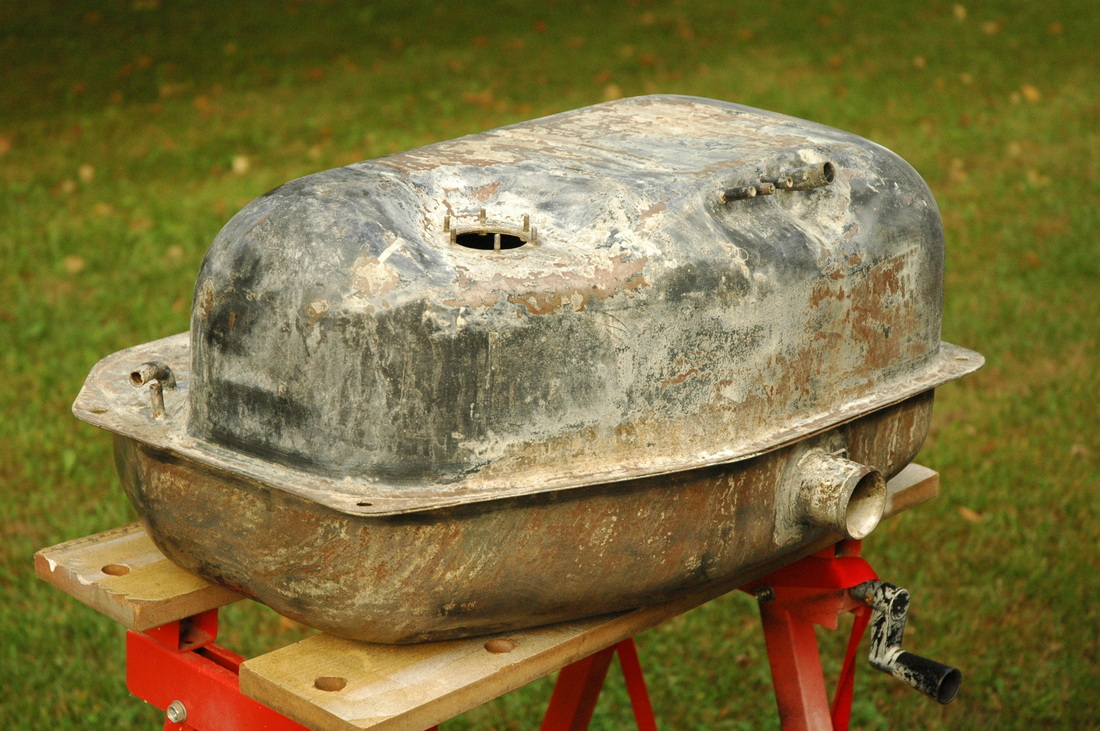
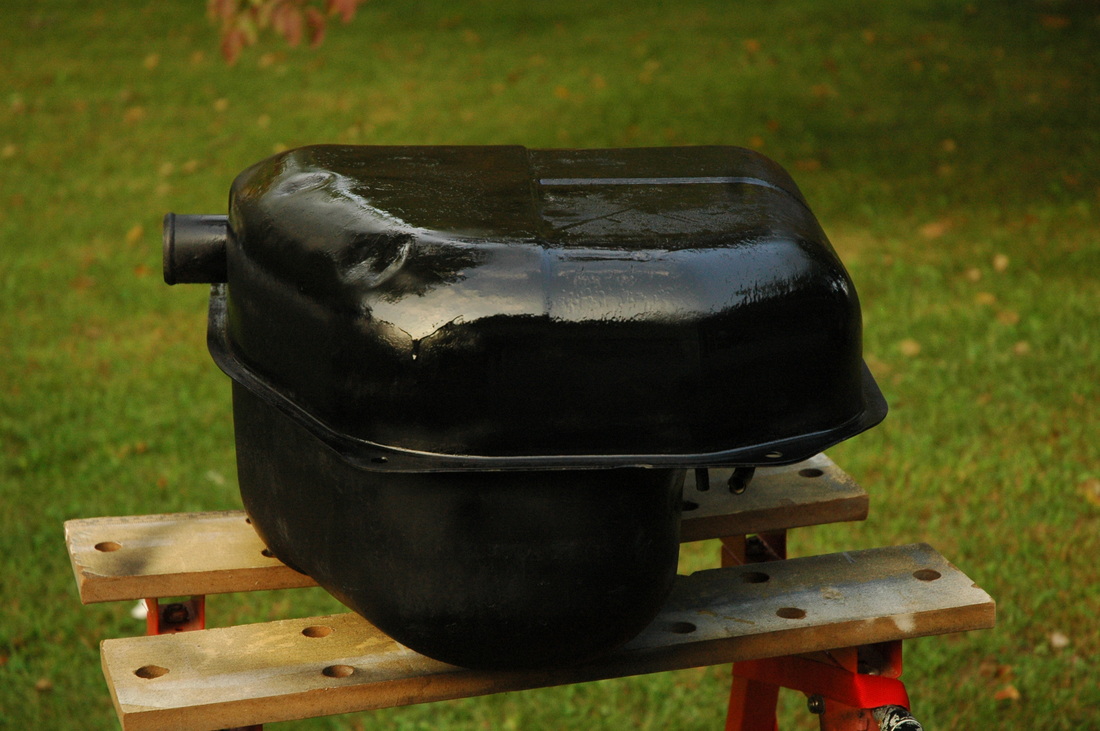
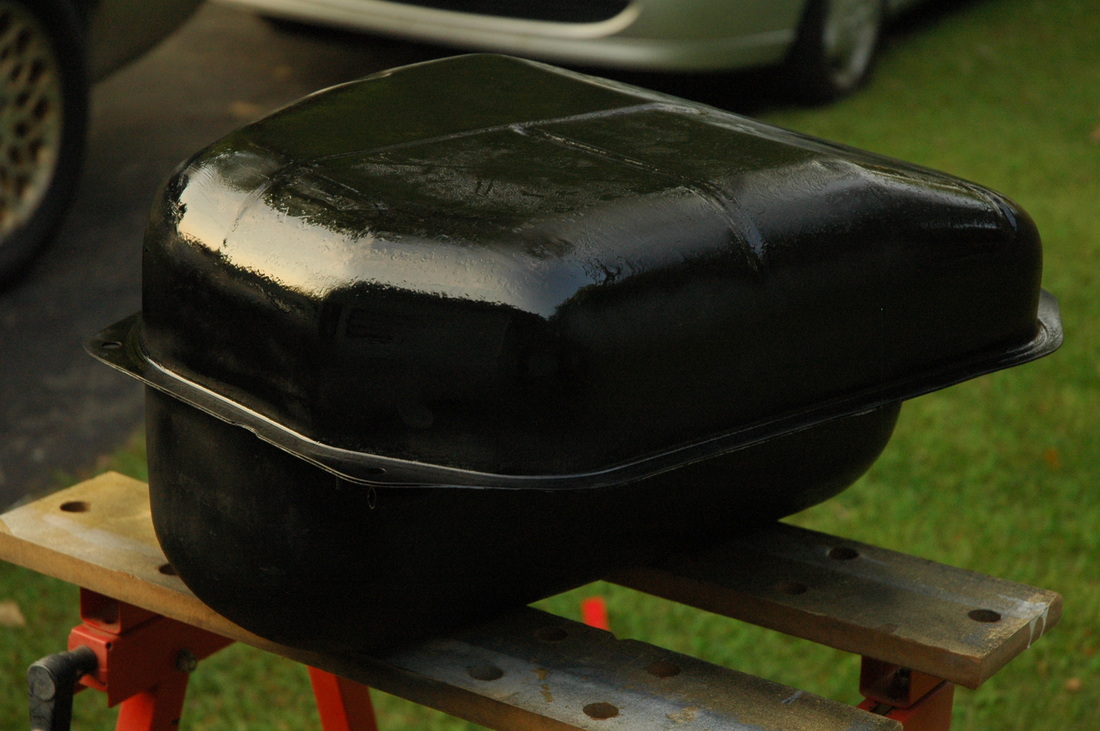
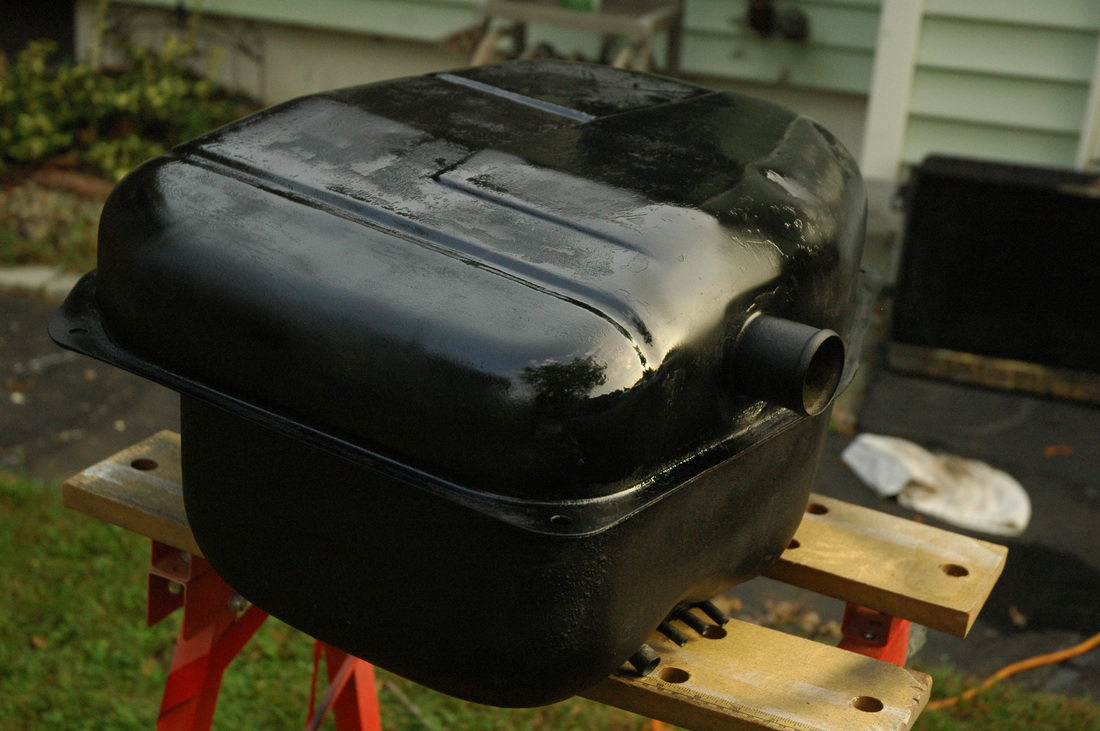
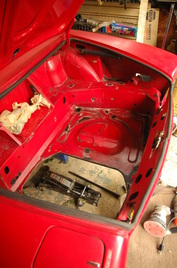
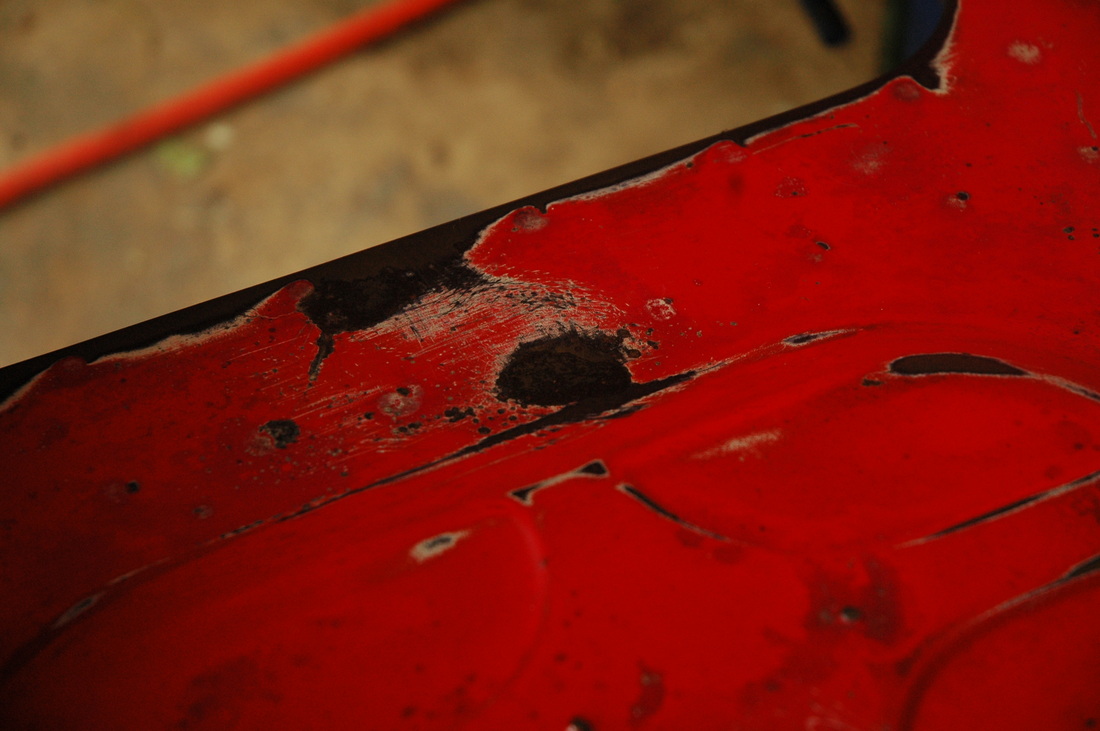
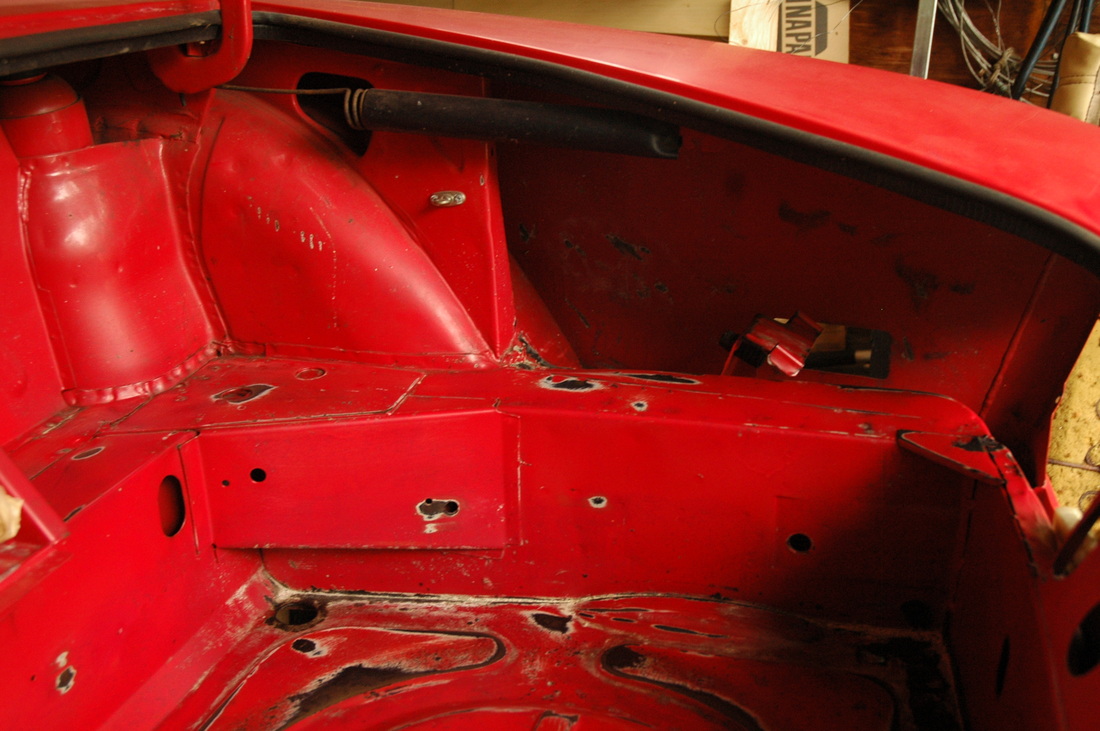
Today I started installing fuel lines and putting the gas tank into the trunk. I don't have the nuts that mount the gas tank so I'm going to have to go on another metric nut hunt. They look around 10mm? Who knows. I'll find out. The hoses seem to be going together well. I still need to figure out how the gas filter and the gas pump mount to the bottom of the car. I have a variety of mounting plates, but I have no idea how they assemble. I'll find out.
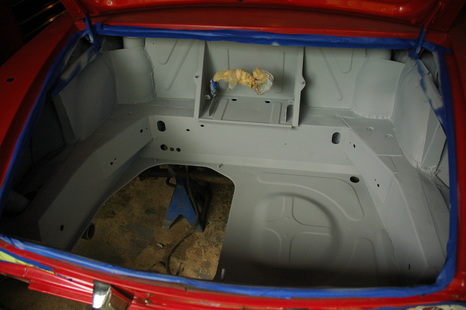
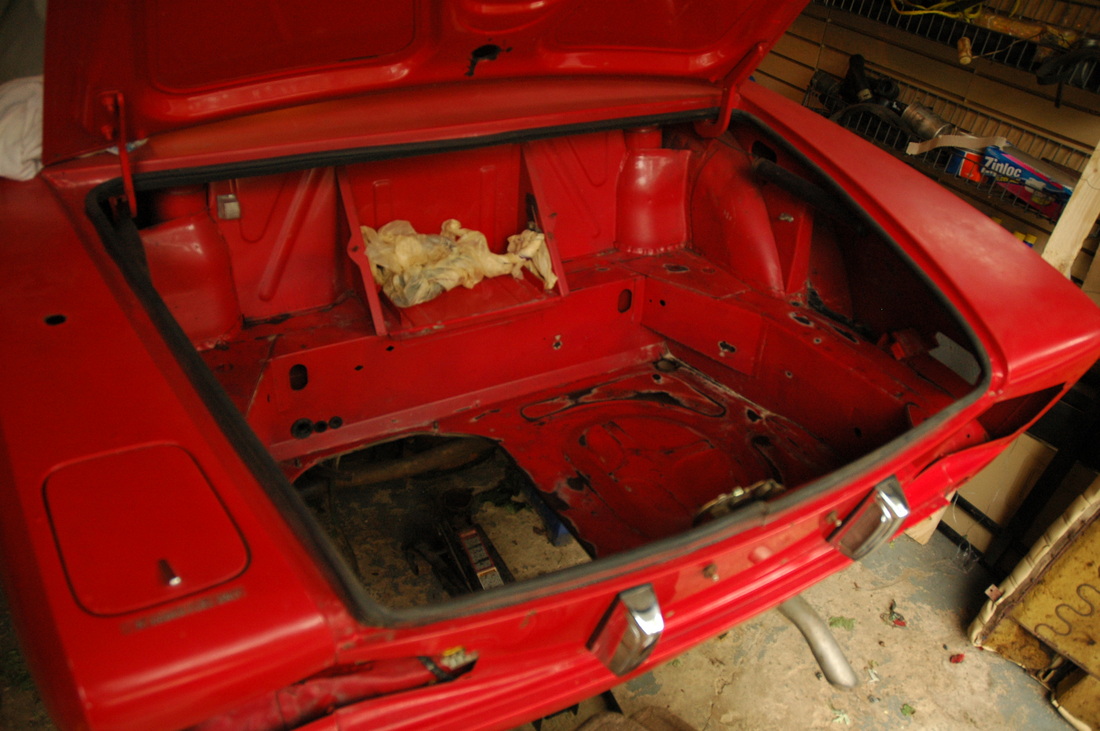
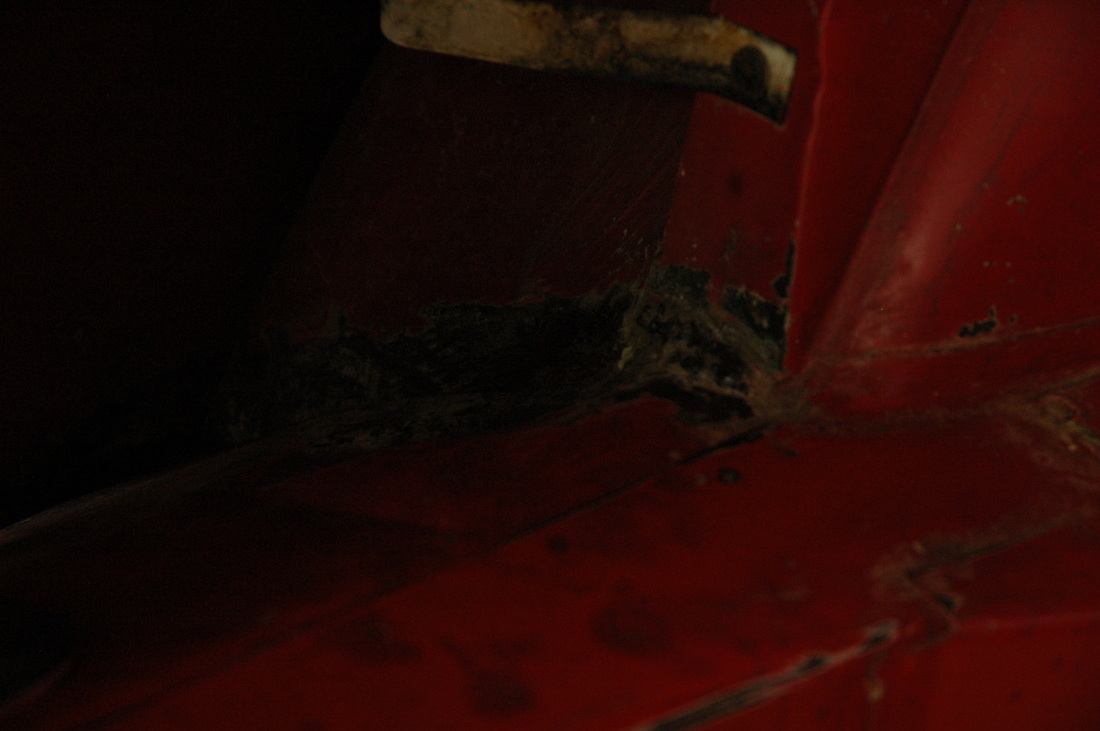
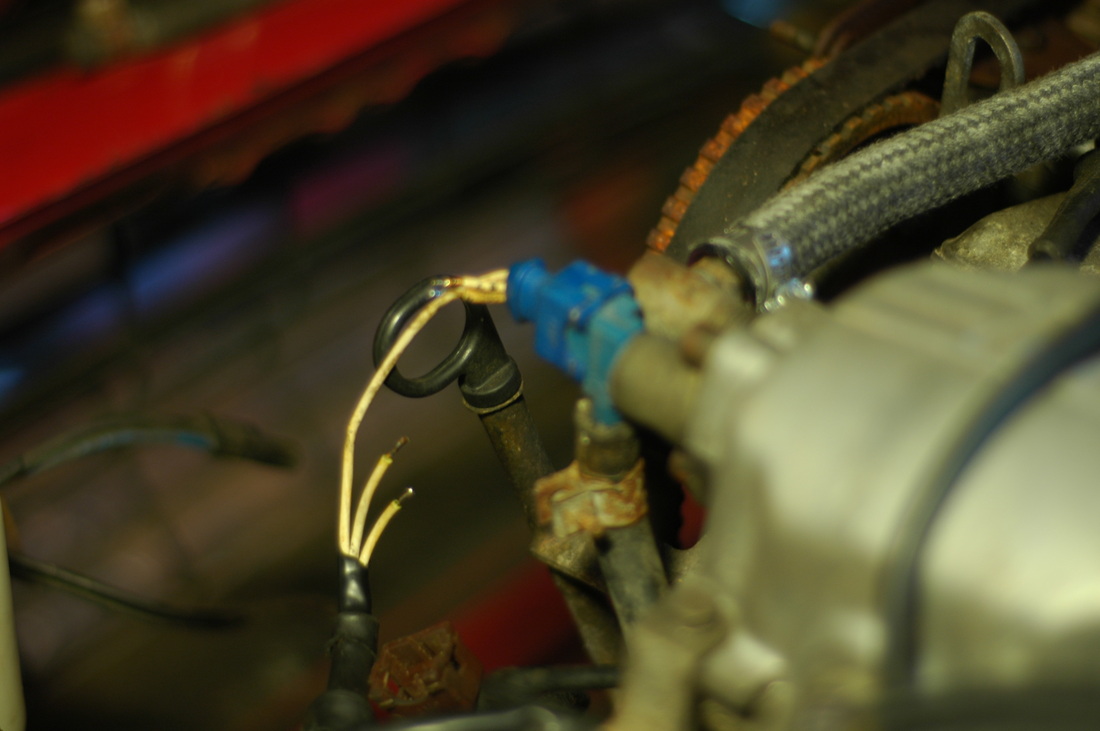
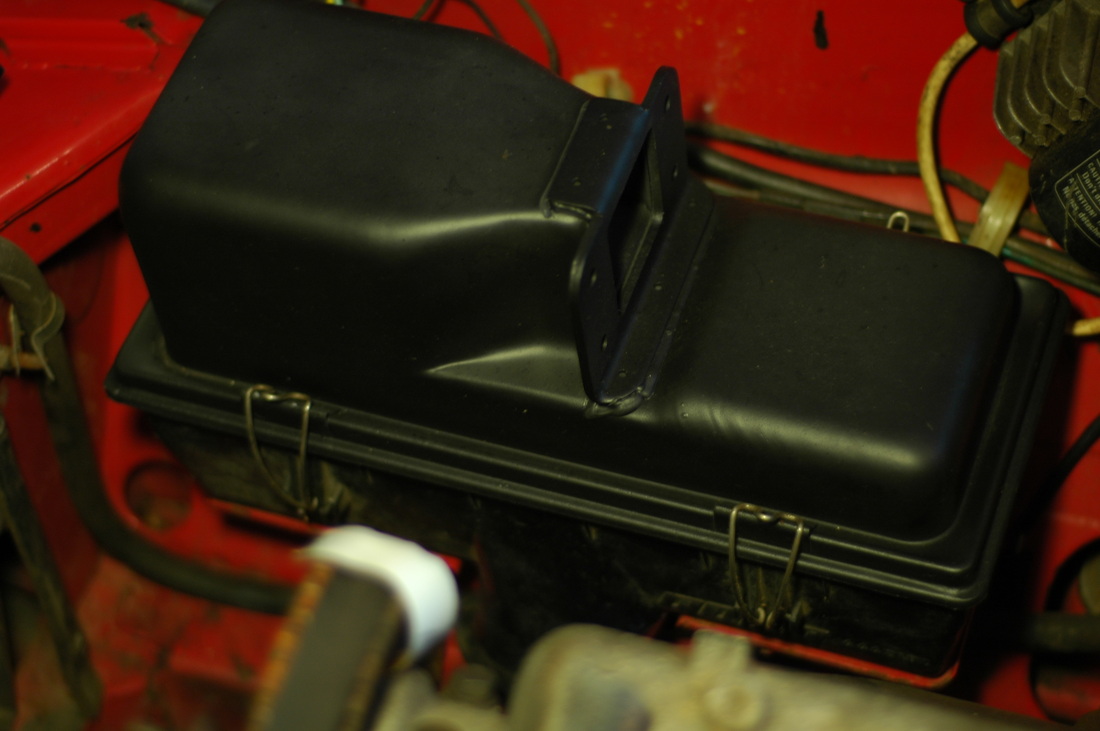
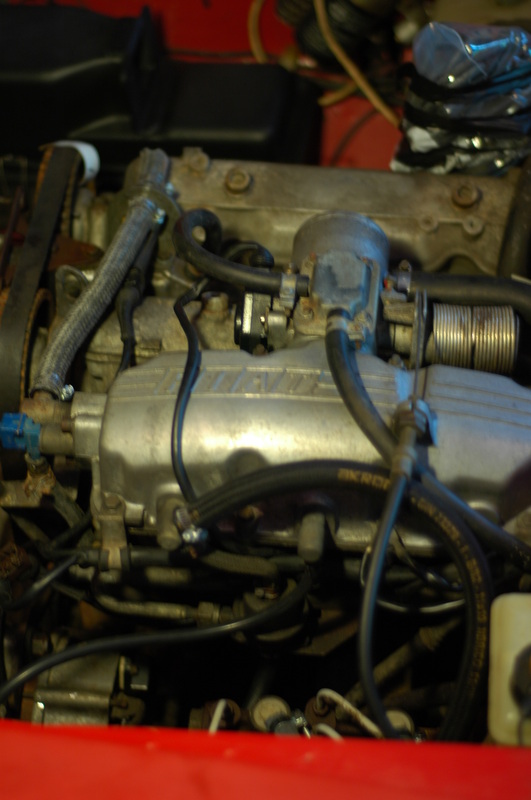
Thanks to the online mechanic manual I found, it was easy to figure out where the vapor lines and fuel lines lead. However, I do not see sizes listed and that has me concerned. Here are some updated photos. Enjoy!
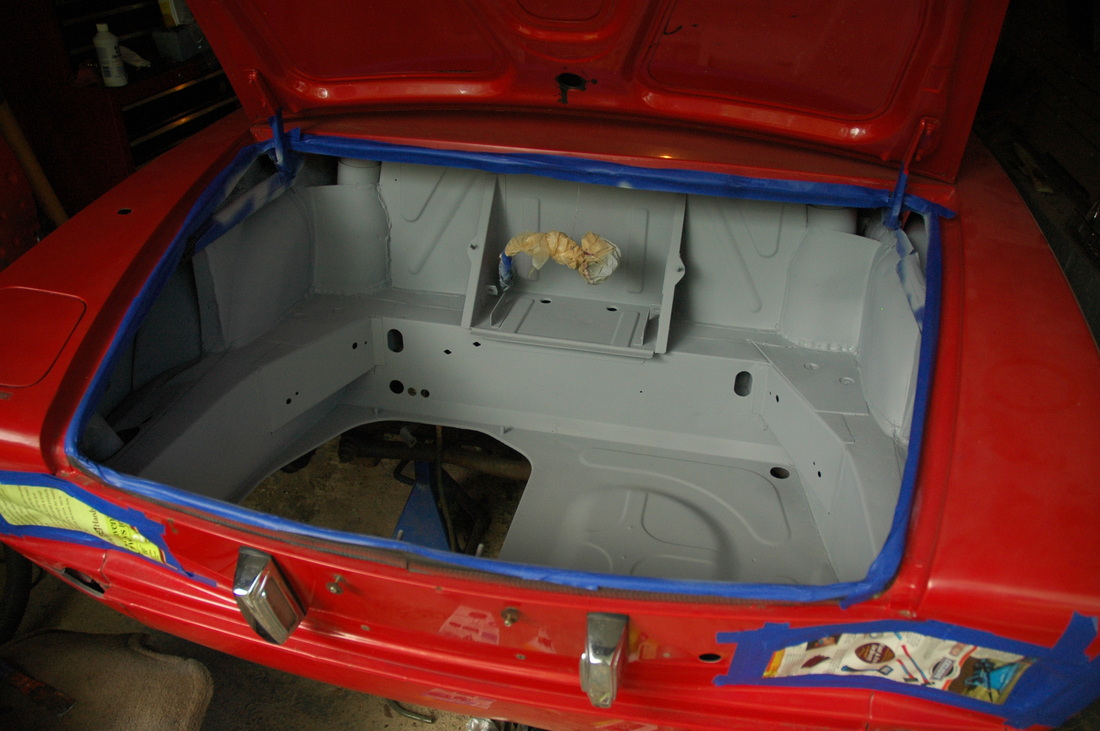
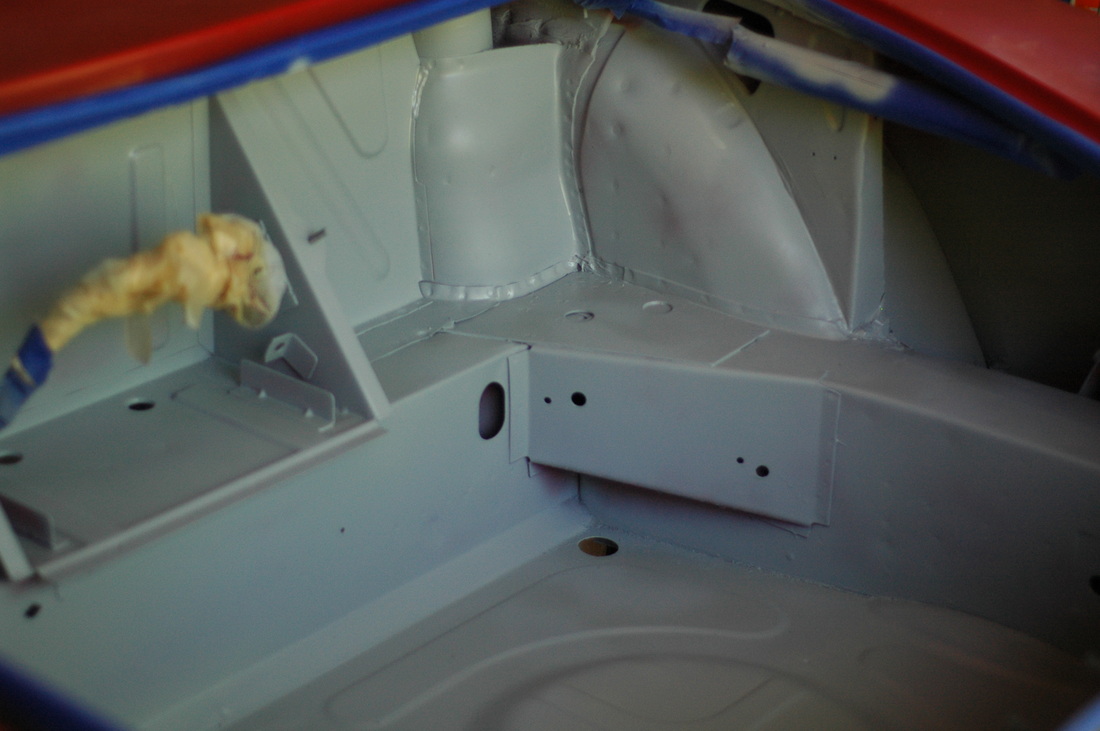
Thanks to the online mechanic manual I found, it was easy to figure out where the vapor lines and fuel lines lead. However, I do not see sizes listed and that has me concerned. Here are some updated photos. Enjoy!


 RSS Feed