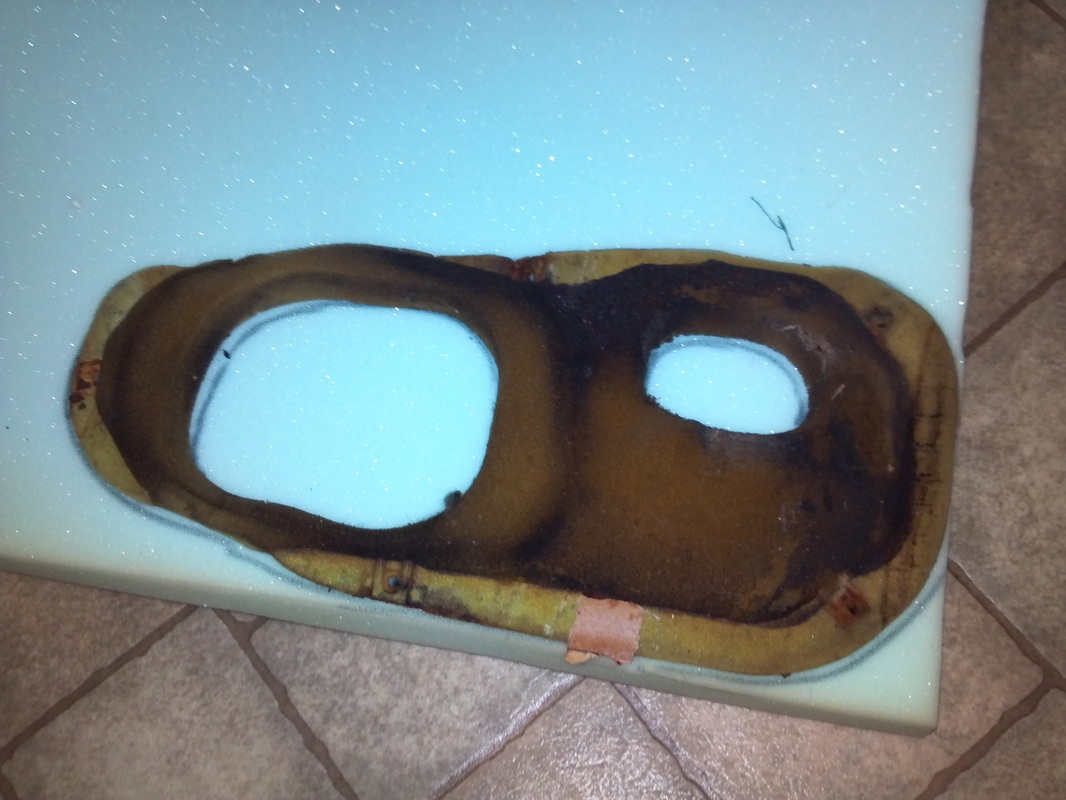
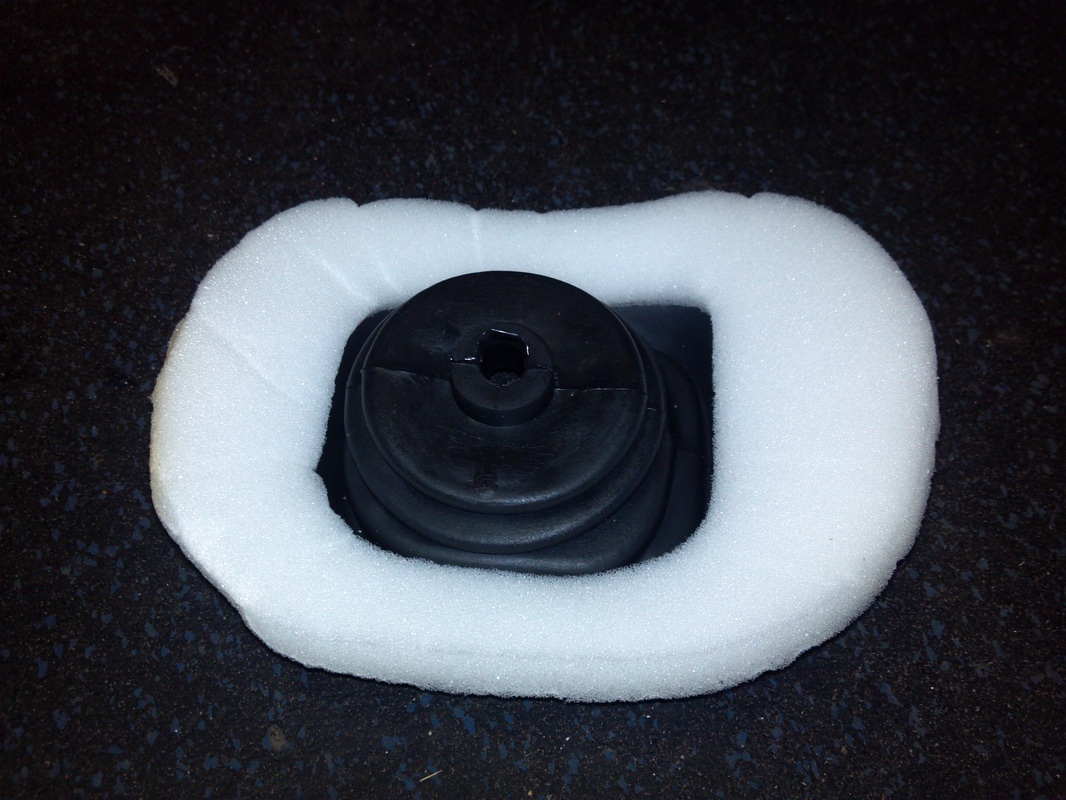
Today I was able to pick up some one inch foam to make to make a new shifter gasket with. I recently purchased a new inner shifter boot and a new foam gasket didn't seem to be available. The old foam gasket was tattered and torn. Mice had their way with it and some lubricant splashed out of the transmission and onto the foam. I believe that had to do with the ripped inner boot seal. With the inner boot being replaced, everything should install nice, neat and clean and stay that way.
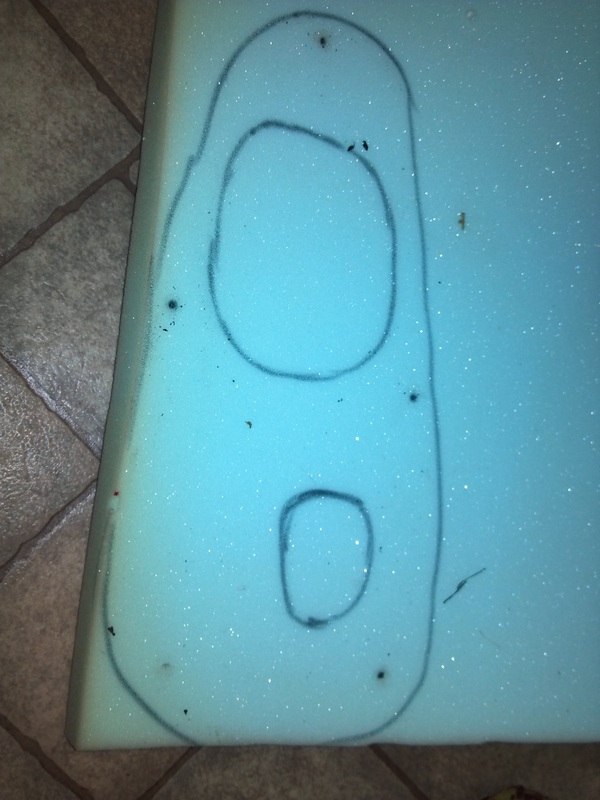
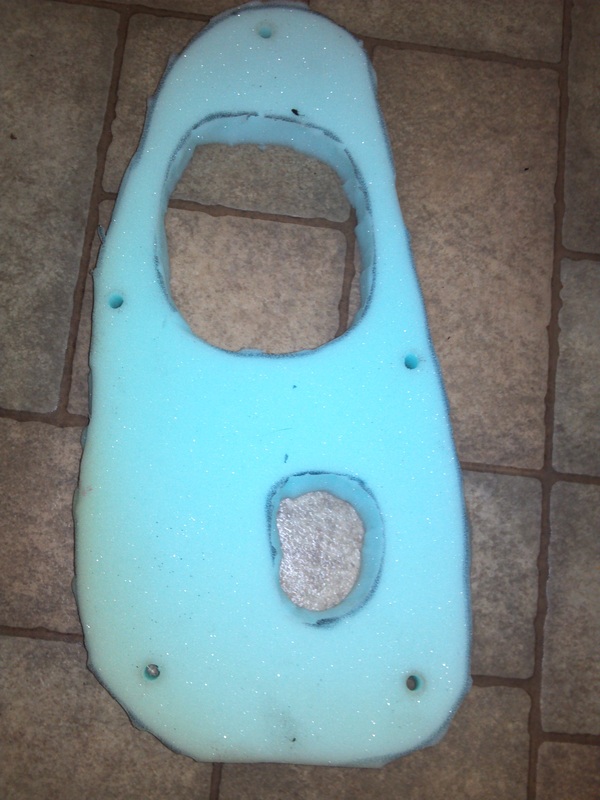
I used the old foam gasket as a template and cut out the shape from my new foam. When I was finished with that I used a punch set to get perfect holes for my screws to go through. My cutting wasn't perfect, but it won't be seen and it will seal up the gap quite well, regardless. I think an electric carving knife would have been best for a clean cut, but I did not have one on hand.
I used the old foam gasket as a template and cut out the shape from my new foam. When I was finished with that I used a punch set to get perfect holes for my screws to go through. My cutting wasn't perfect, but it won't be seen and it will seal up the gap quite well, regardless. I think an electric carving knife would have been best for a clean cut, but I did not have one on hand.


 RSS Feed