Today I took a few minutes to lay down some black over the Master Series Silver. I ran out of black paint, so I will need to give this 48 hours of dry time before I can put a second coat on. I'd like to do three coats, But I don't think it's in the budget. Next up: Body work and deciding what to do with the carpet.
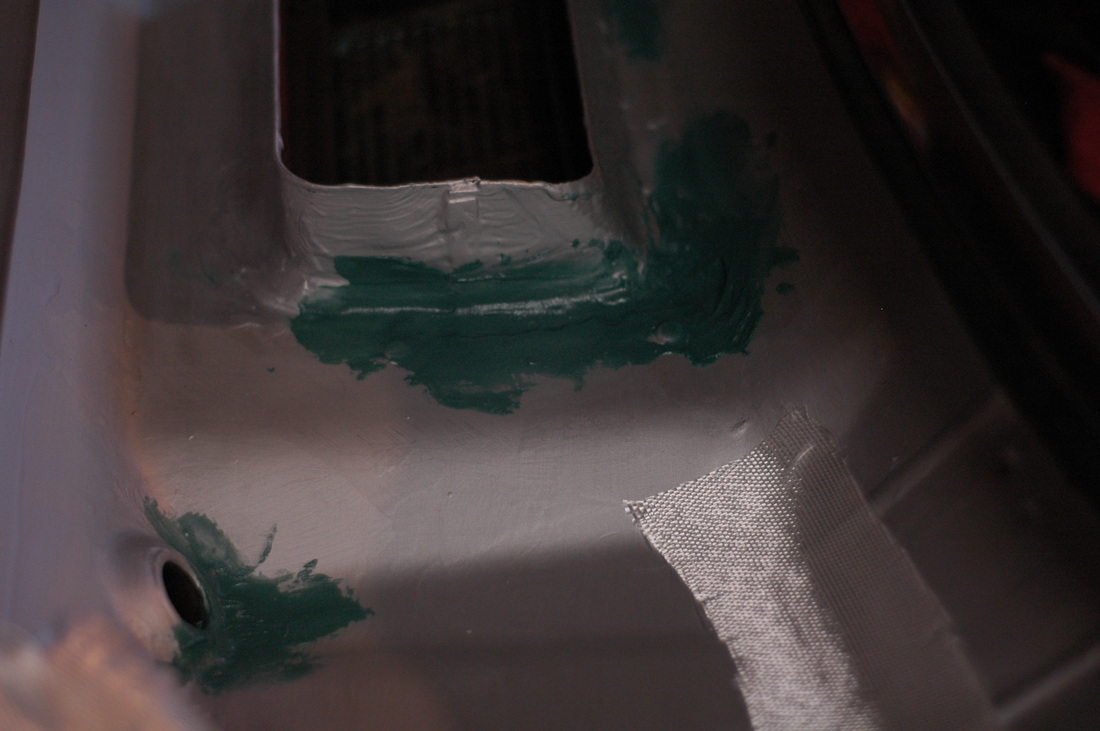
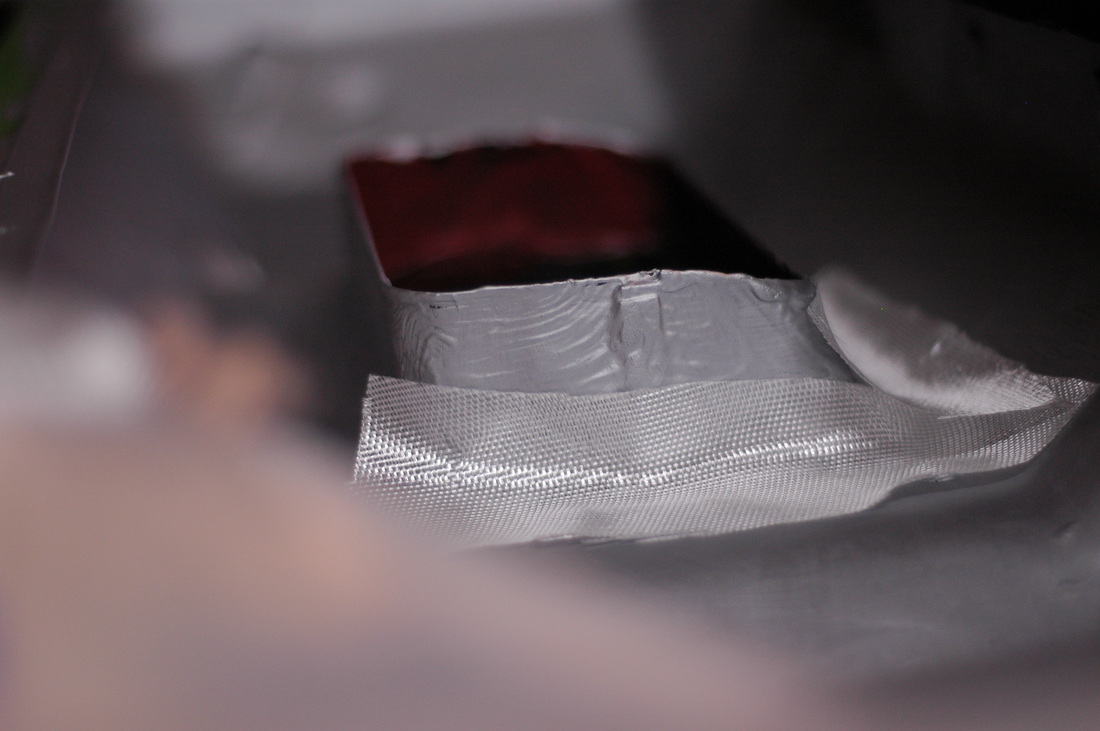
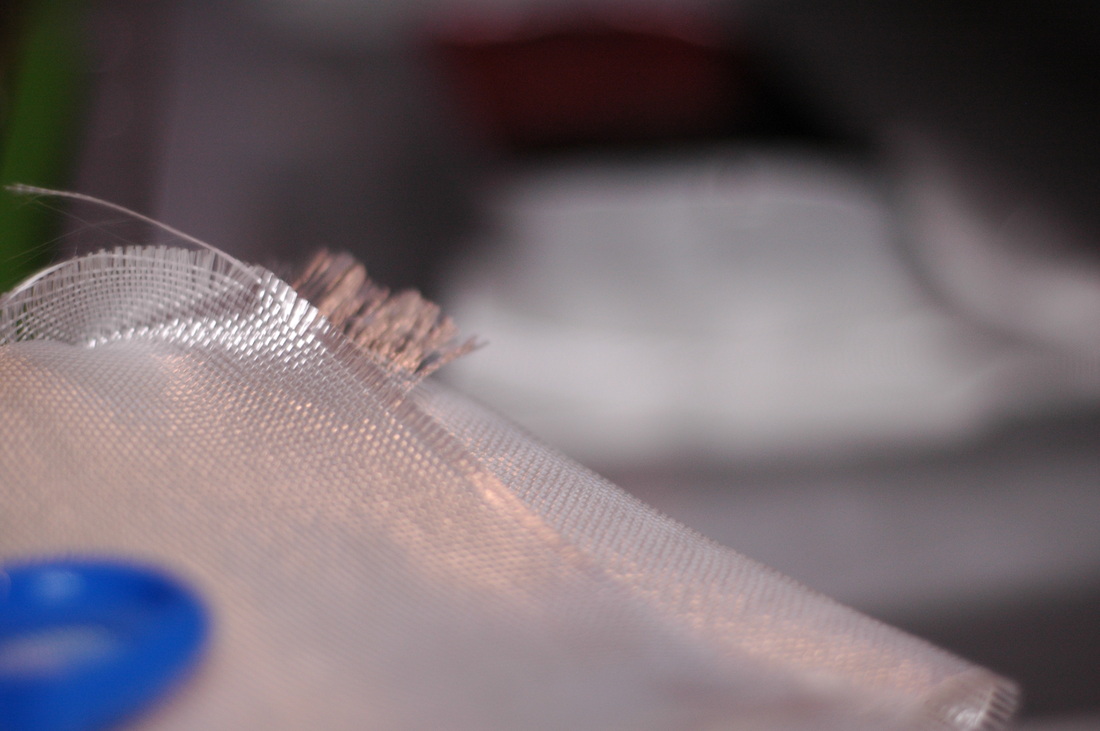
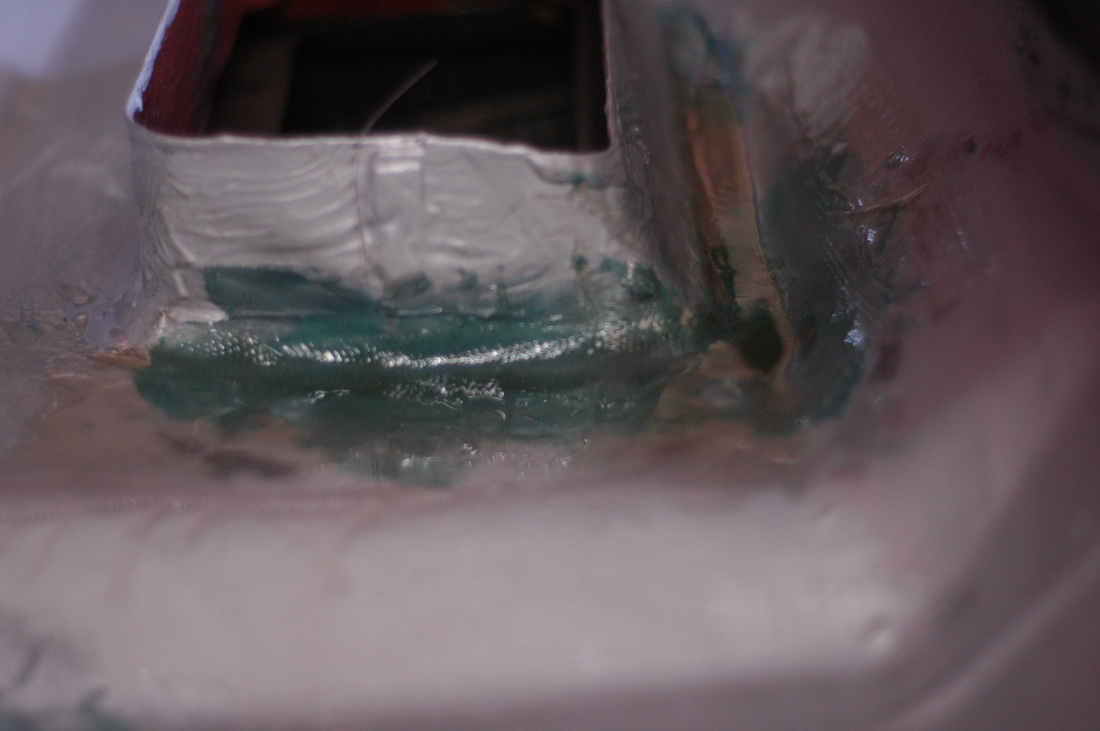
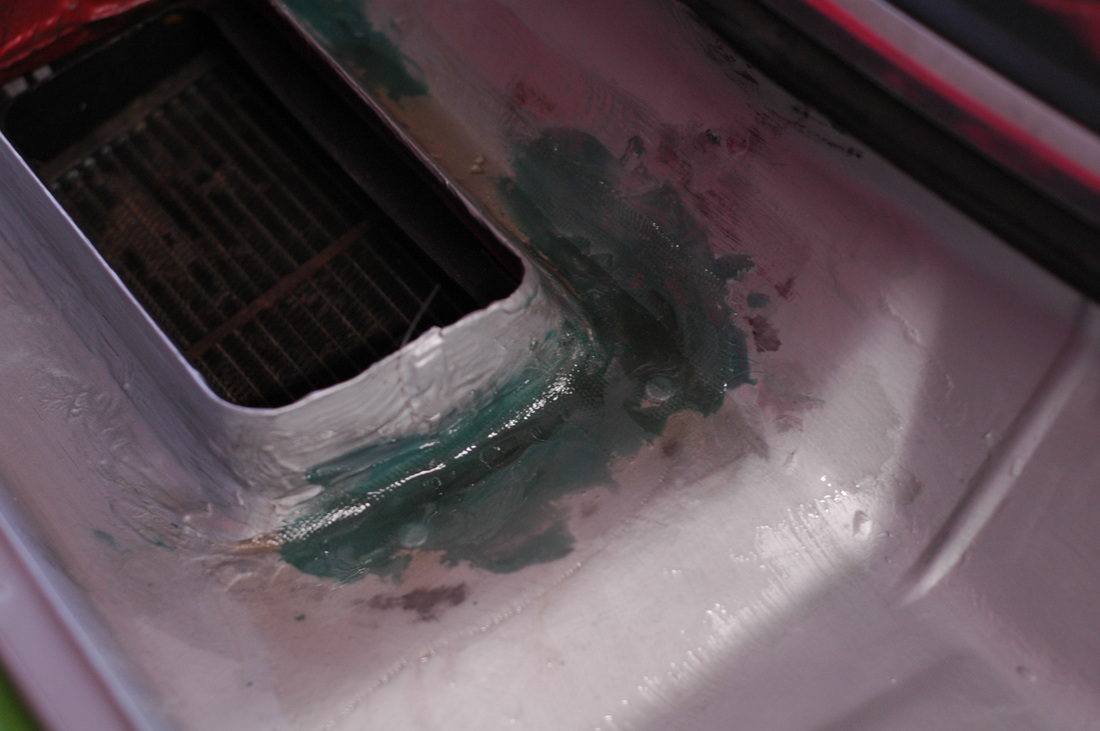
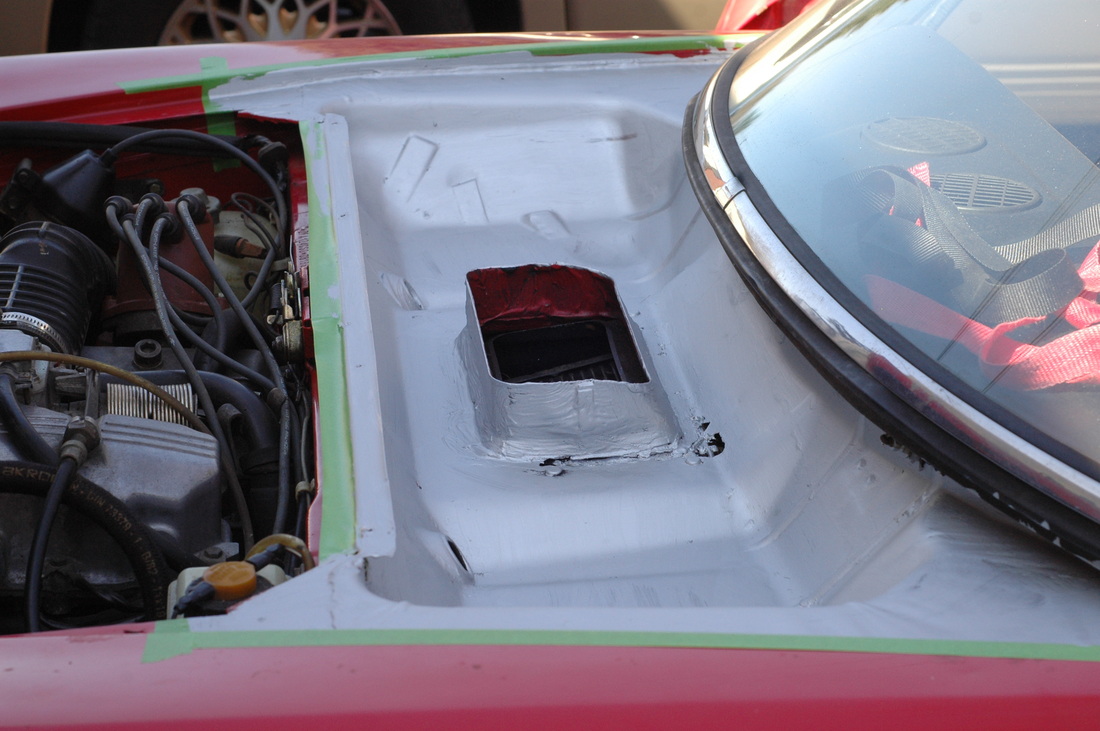
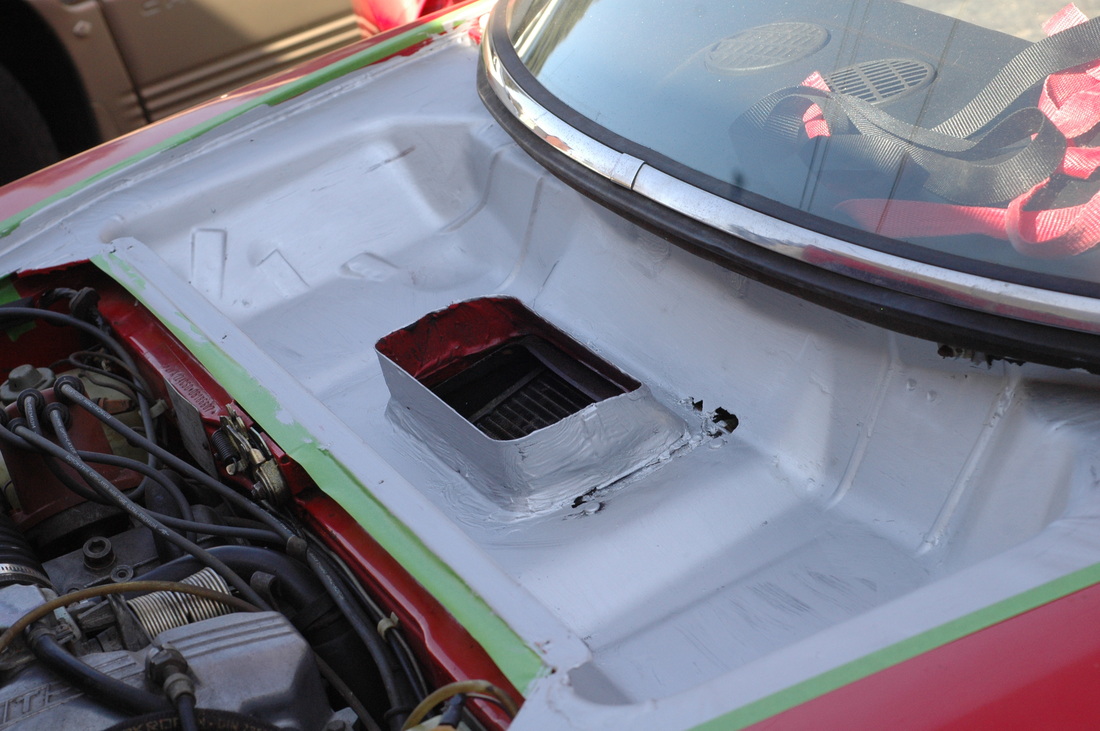
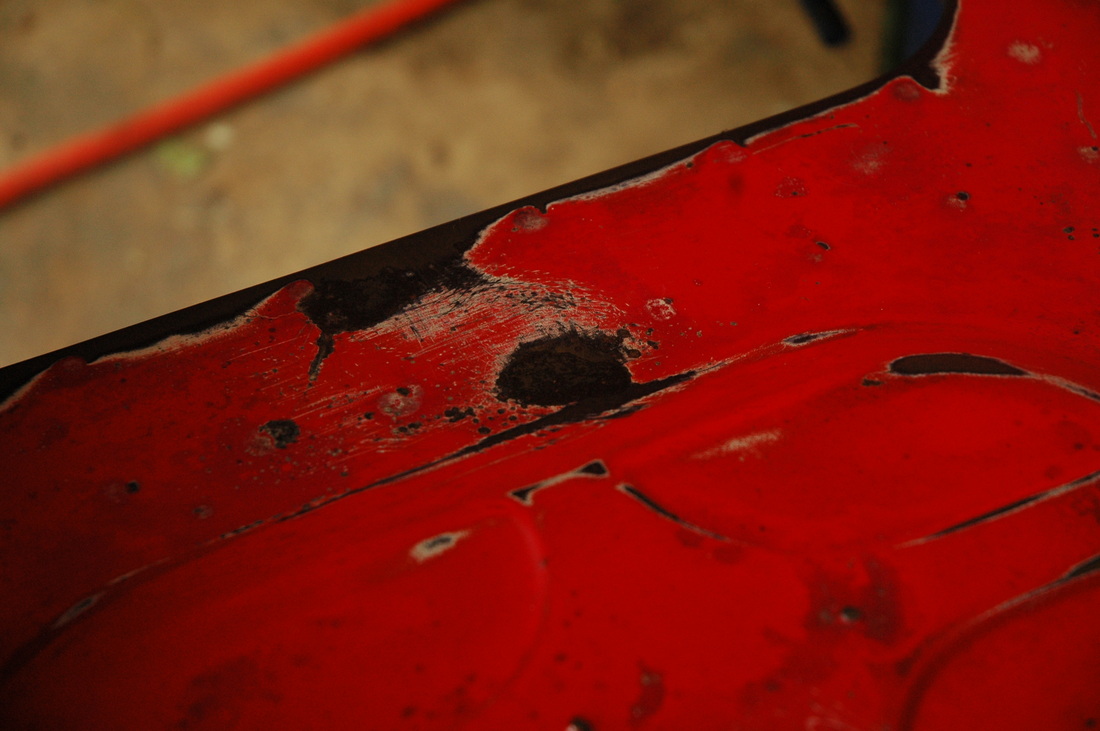
Today I'm attacking some holes under the cowl. I'm running out to the garage and spending five minutes here, ten minutes there poking, mixing, filling, rubbing sanding and more. I hope to have the holes patched and two coats of silver over the problem area. I also took the time to fiber fill the drain holes and smooth the flow of water. Rather then smacking against a wall, the water will run up a smooth ramp. Still not perfect, but better than factory. And since I sealed the under cowl so well, any standing water that is left should evaporate quickly. I also don't plan on driving the car in the rain, so this is just a precaution. Better safe then sorry. 
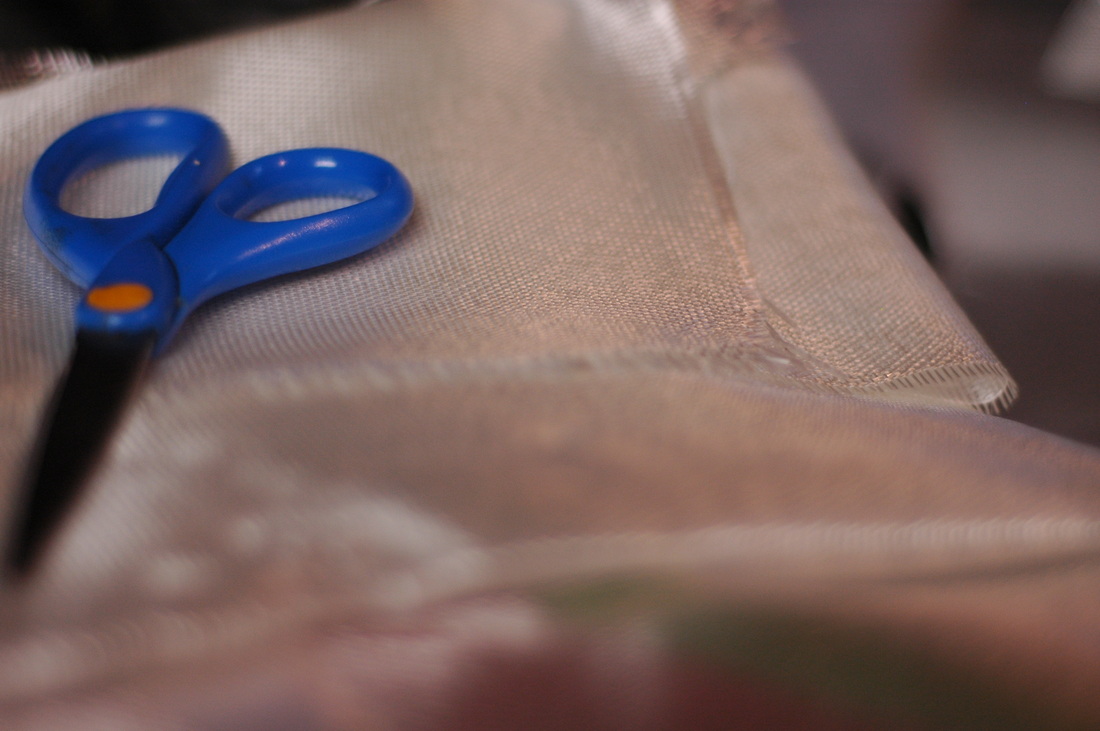
I started by brushing some resin on the offending area. I wet out some cloth on a piece of card with some fiberglass resin. Once it was good and wet I picked it up (making sure I had gloves on) and layed it into place. I took a disposable brush and worked out all the air bubbles on both pieces and feather the edges. The smoother it is now the less sanding there will be later. After it sets I will scuff off the wax that rises to the surface and give it another coat or two of Master Series Silver.
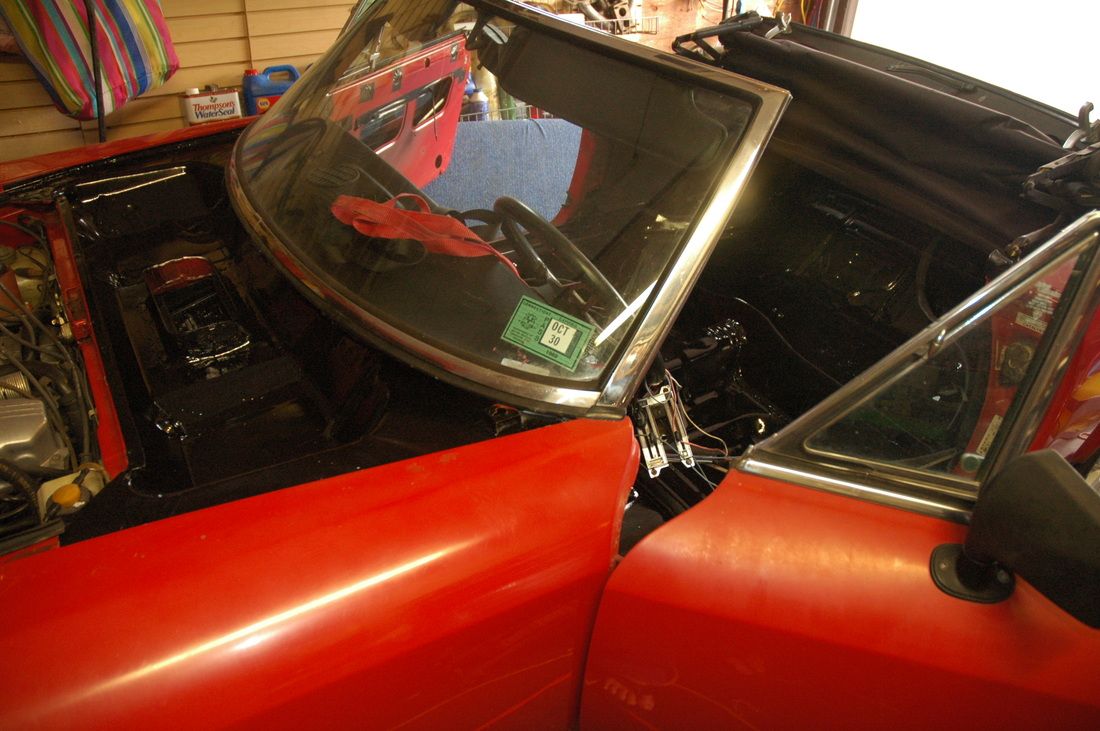
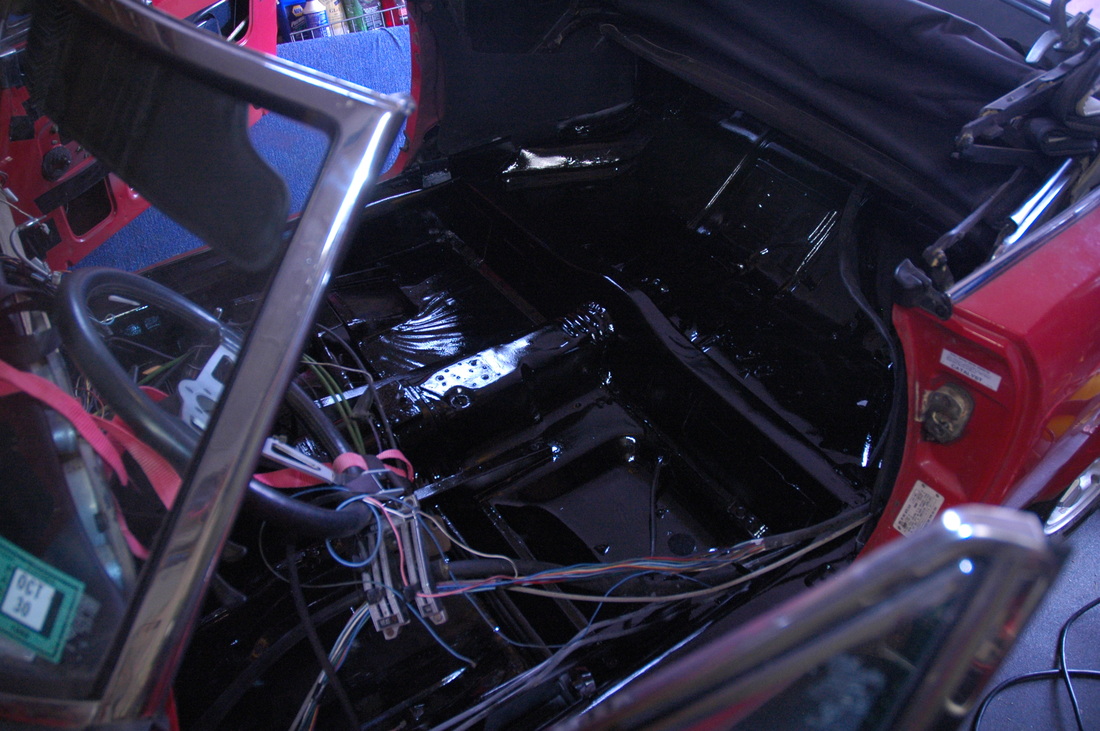
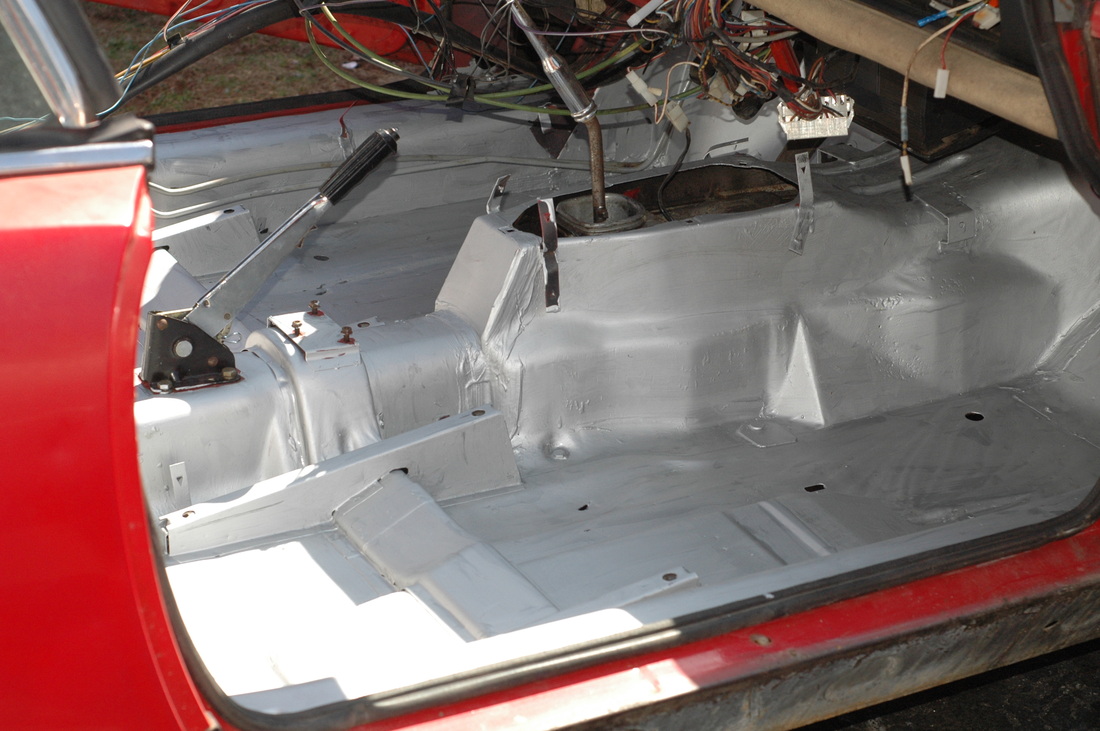
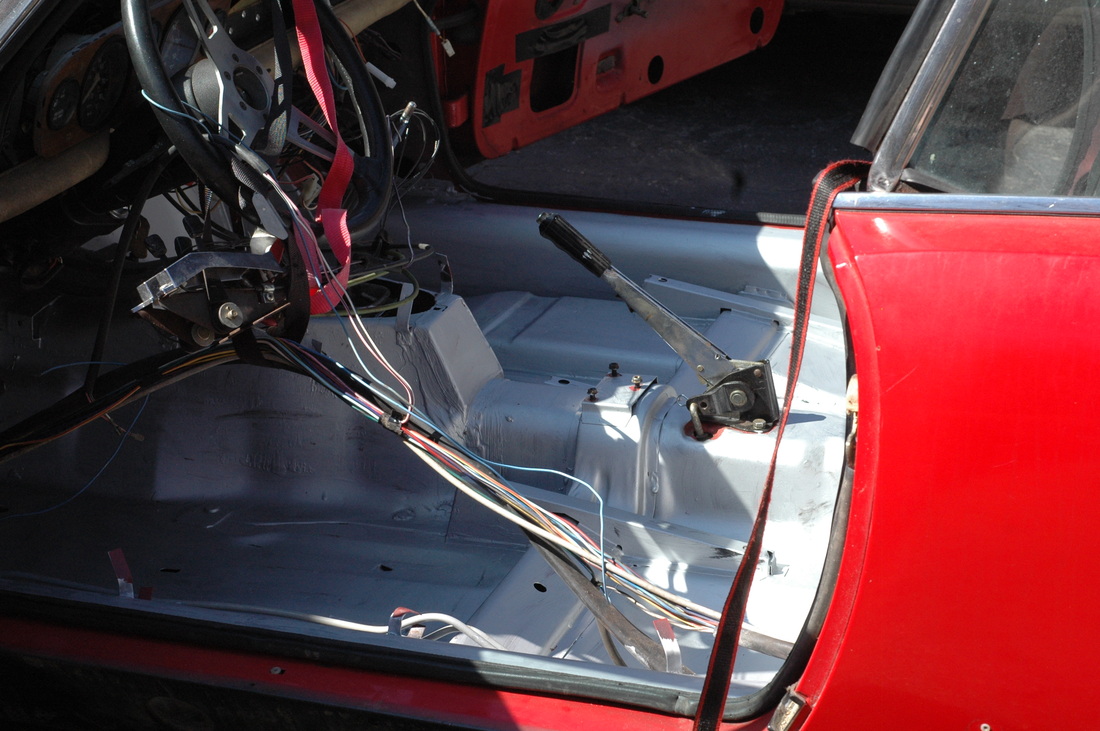
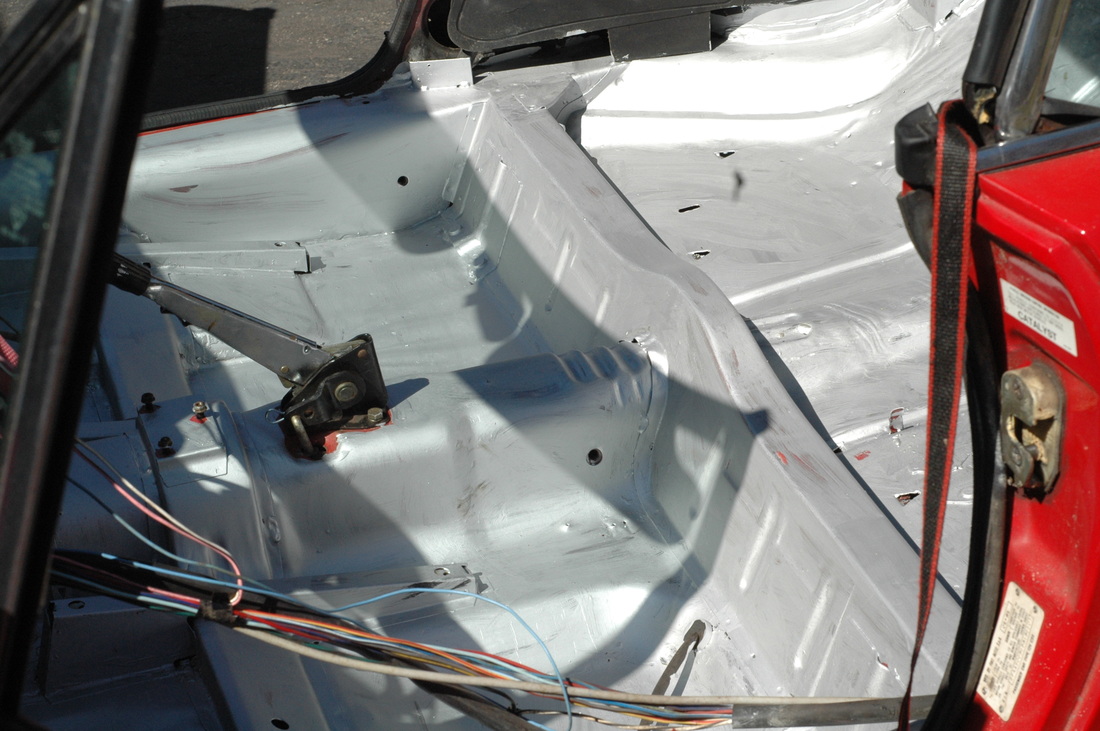
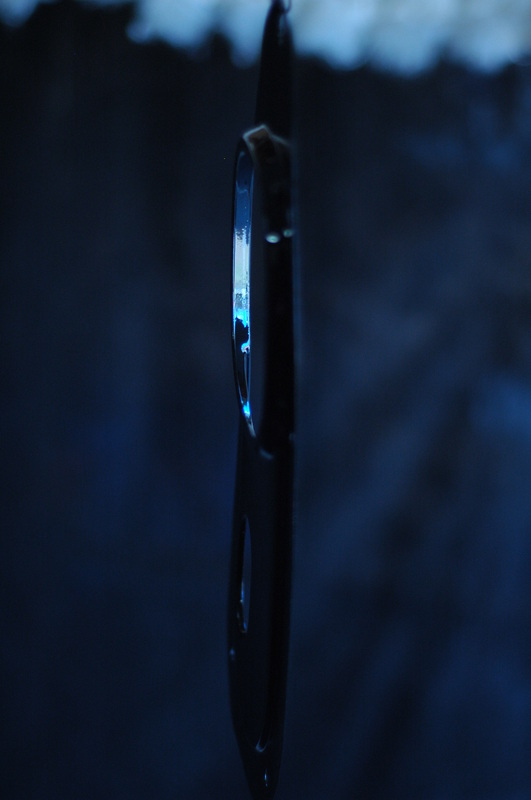
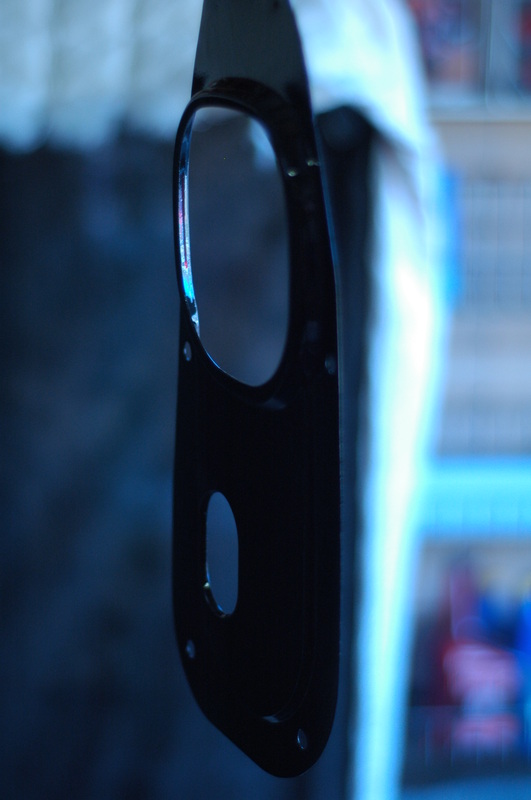
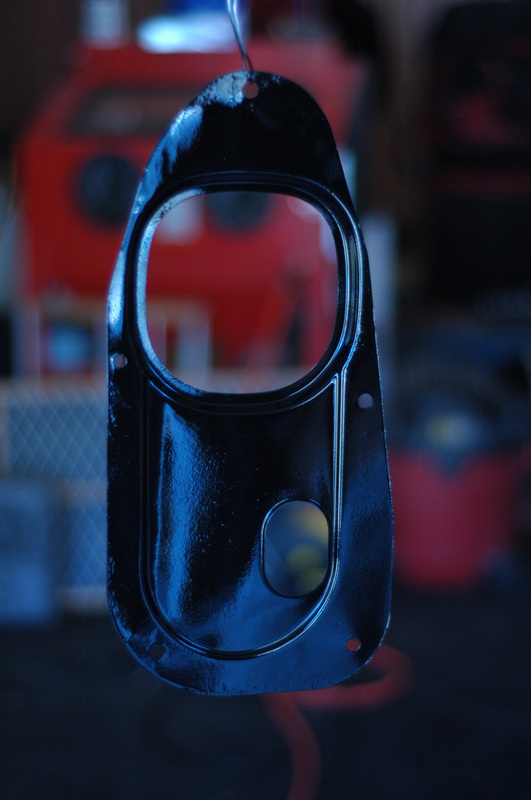
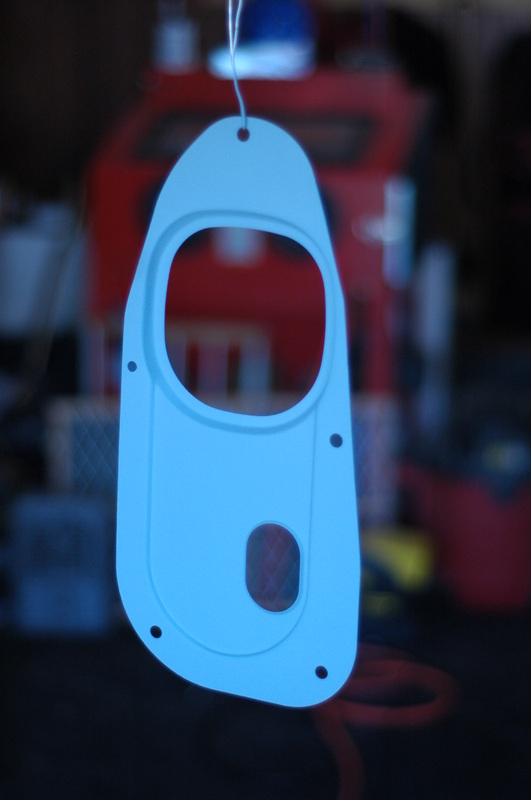
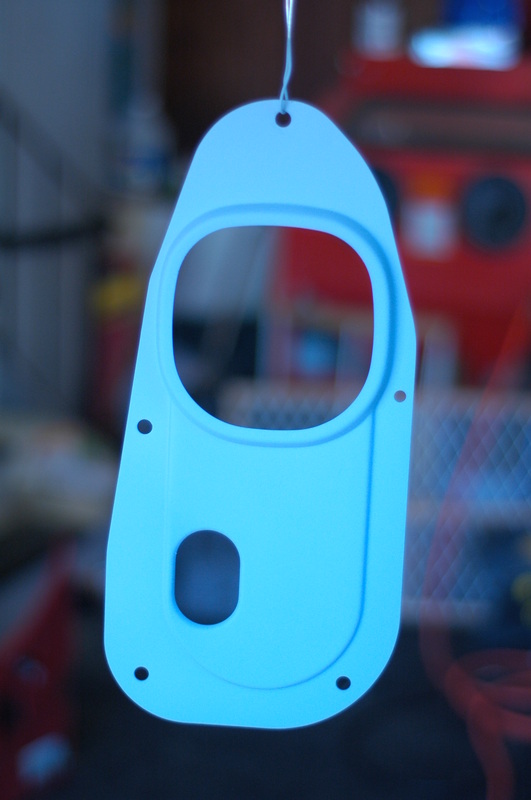
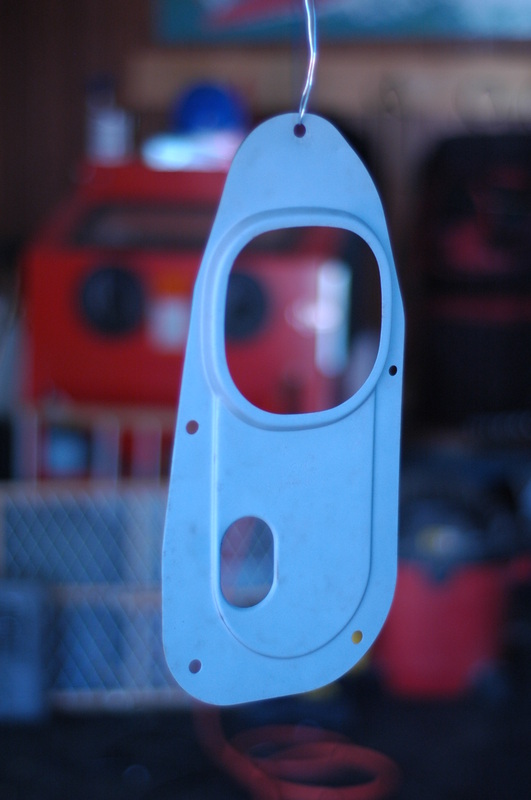
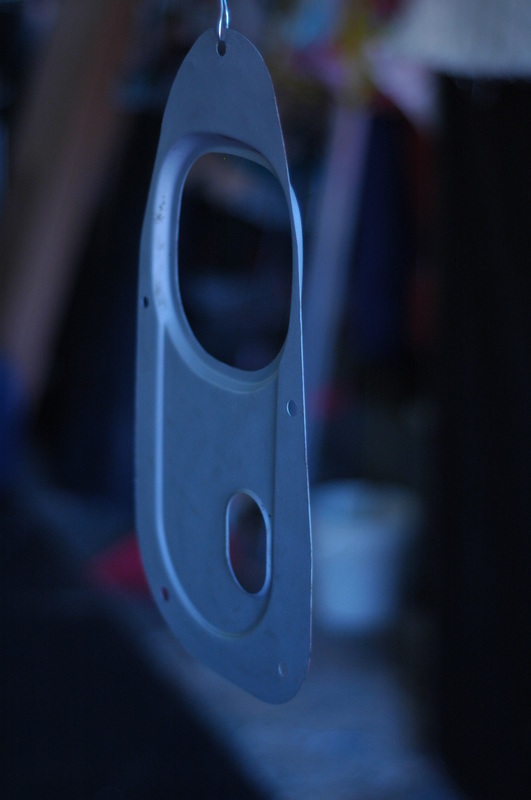
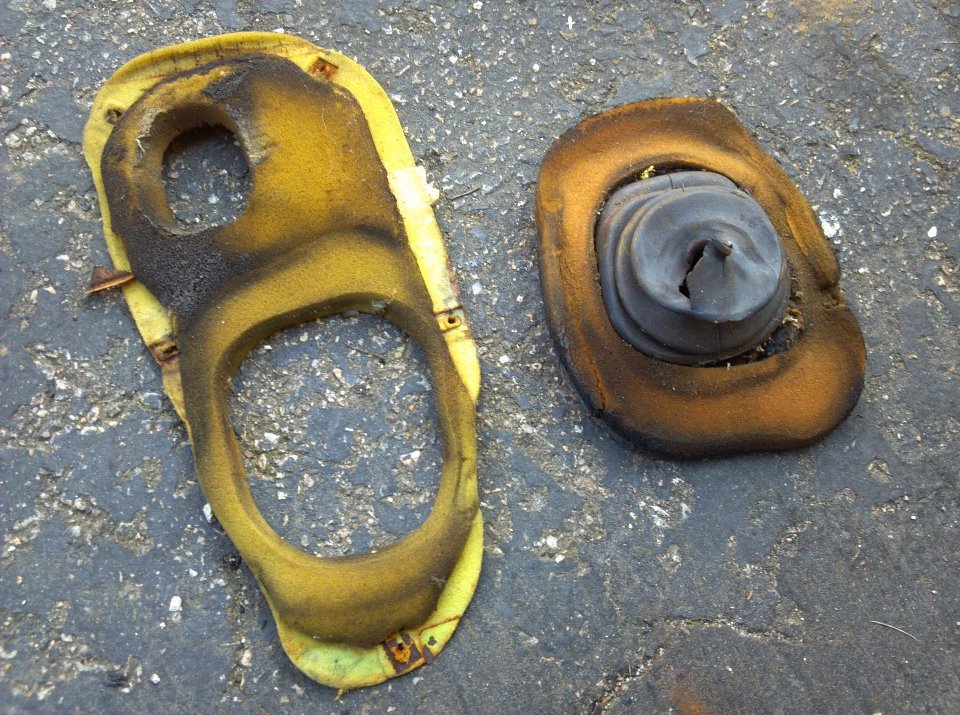
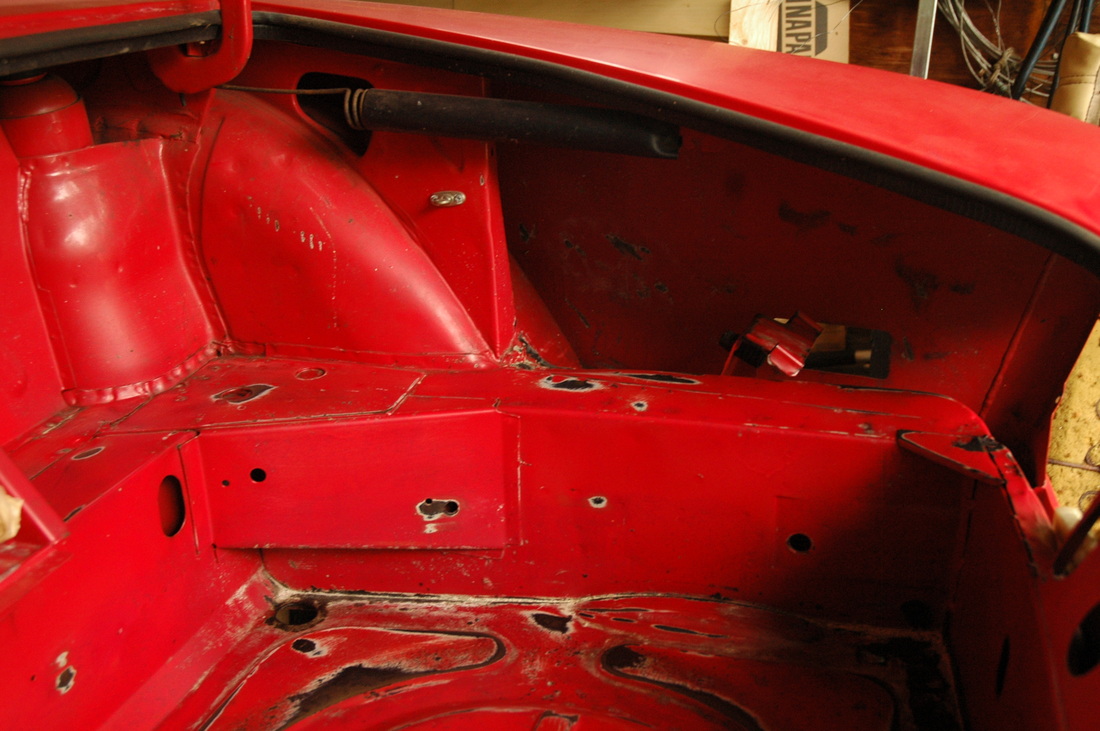
I'm very excited. Today was a big step in getting my Fiat back together. I put down a coat of master series silver. After prepping the interior and under the cowl for the past week I was able to head outside on a beautiful day and lay out some color. Silver to be exact. All of this will be covered by rug or a cowl so neatness wasn't a huge priority for me. I really just want everything to be protected and water proof. Here are some images to check out. I hope to put another coat of silver and do some fiberglass patching before I top coat with black. After that I start on the exterior so I can get some gas in her and see if she starts! 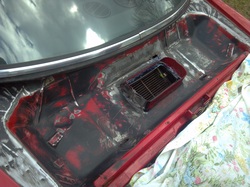 Today I spent some time wire brushing, sanding and cleaning the cowl. I used some rust dislover in the problem areas and after wiping everything down I used rust treatment on the problem areas in case there was a tiny bit left. I need to wait 24 hours before priming. I also seam sealed a few spots and I'm contemplating building up the area near the drains so the water moves more smoothly into the drains. Tomorrow I will coat the cowl with Master Series Silver if everything works out. After that I will be glassing an area that has some holes, coating with silver again and then top coating in black. As you know I've been peeling up all the tar tiles off of the floor of the Fiat. Today I realized there was more on top of the transmission hump so scraped it all off. I also took the time to seek out any other little patches laying around that I had missed. Then I noticed that one of the tiles went under this shifter plate. Since I had to take out the plate I figured I'd media blast and refinish the part. I'm really happy I did. It was a little rusty, but now it looks great. I won't be able to see this part when I'm finished, but at least I know it will be well protected. Unfortunately the inner boot and foam piece look absolutely disgusting and will need to be replaced. I didn't really want to spend any more money on the interior. I'm not really surprised though. I'm not really sure where I will get the parts yet, but I did find the inner boot online. But I want to find someone who sells both parts. After tearing everything up with the multi tool I had bits of tar all over. A speck here and a speck there. I decided to grab my paint thinner and soak a rag and lay it on problem areas. After letting it sit for a while any residue was easily wiped up with an extra rag. There are a few areas where the tar is still caked on pretty good and I'll need to do some detailed scraping. After it's gone, I'll do some more wiping and hopefully I'll be ready to sand it down and then paint it with Master Series Silver. That will be top coated with gloss black Rustoleum Rust Coat. 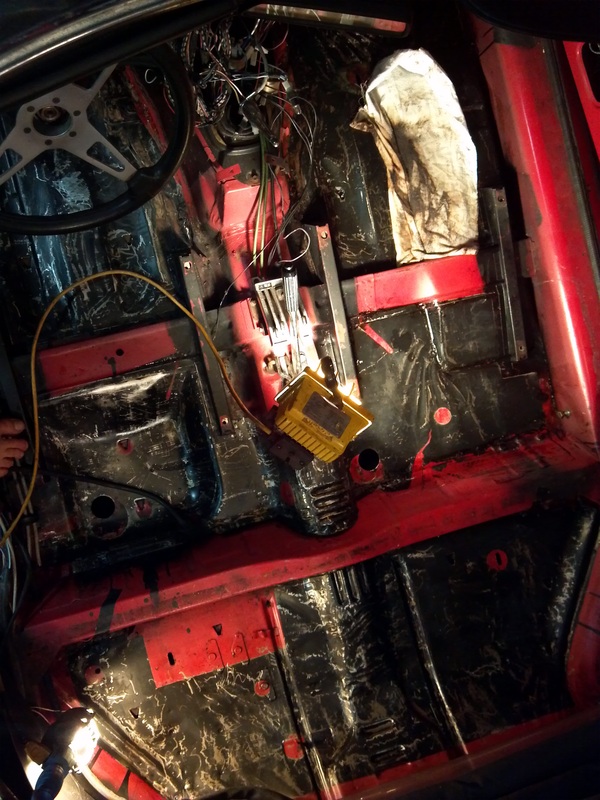
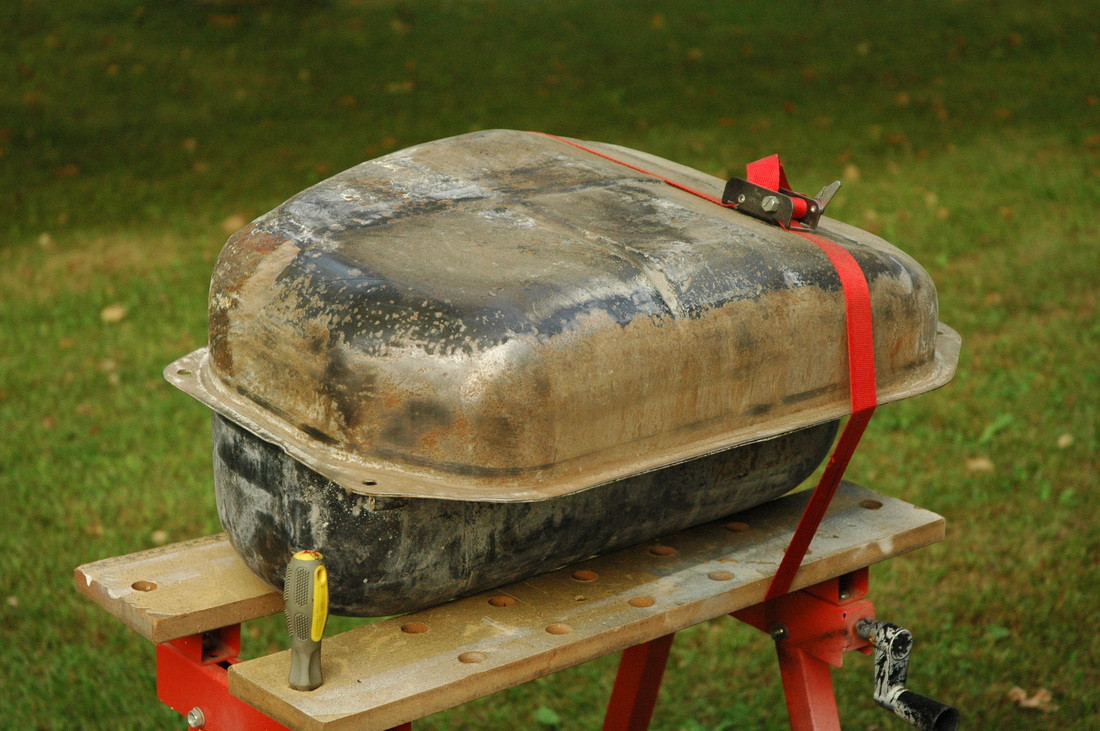
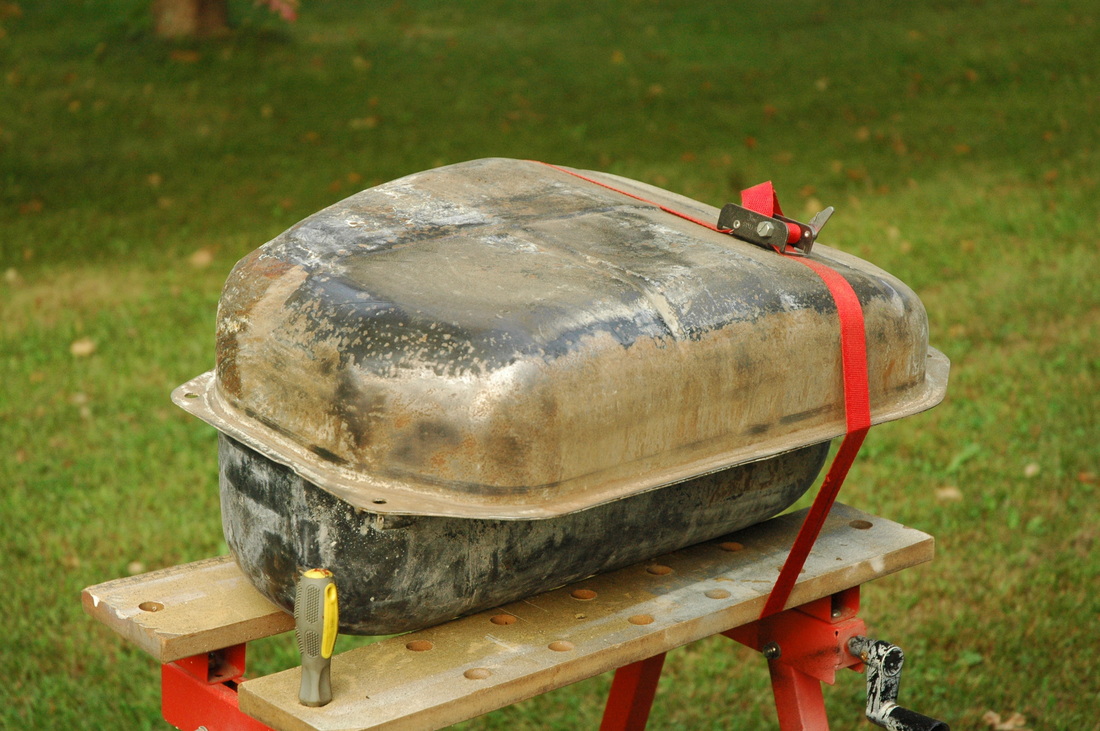
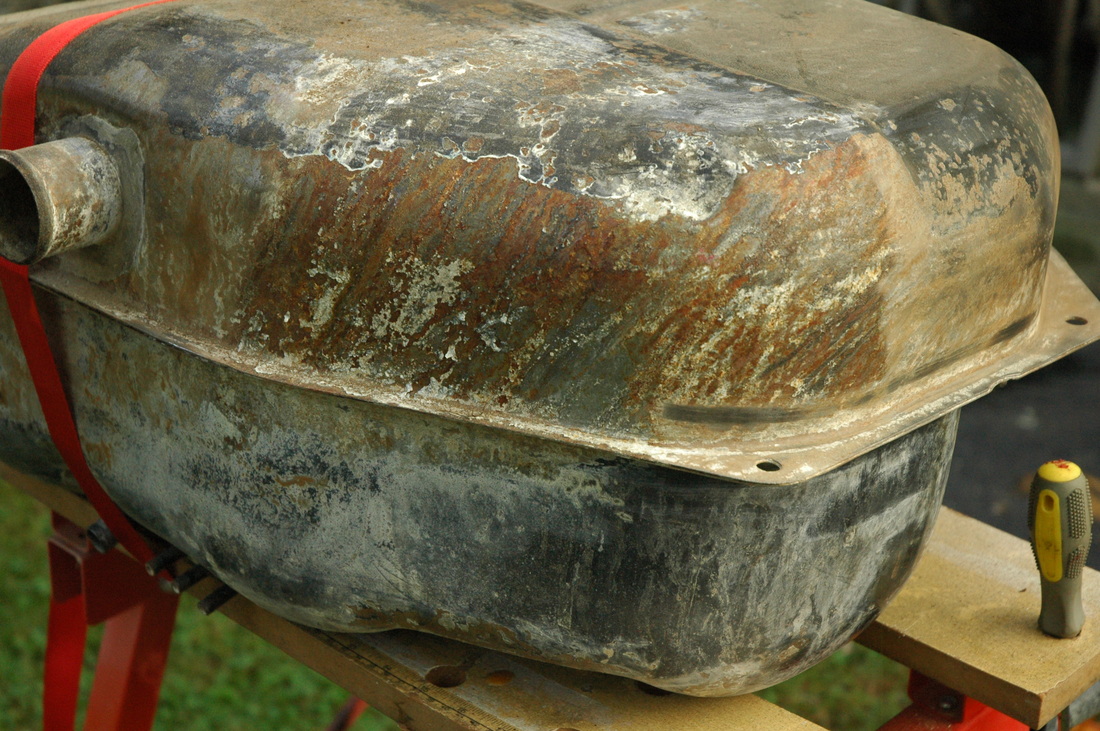
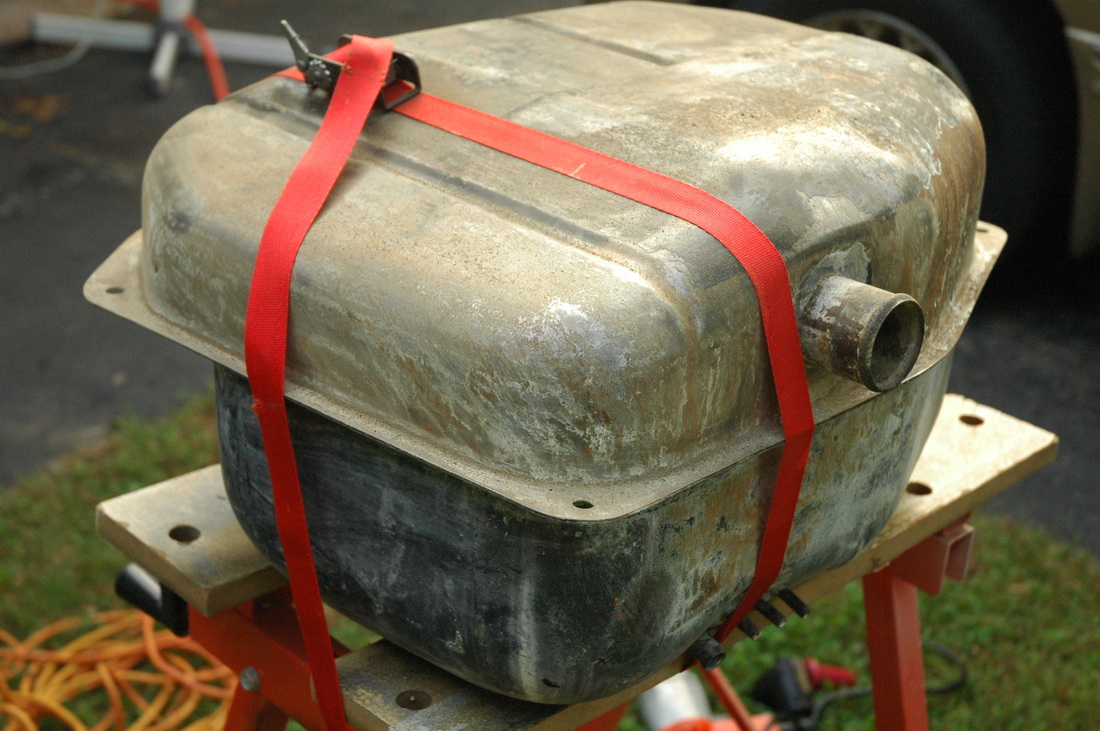
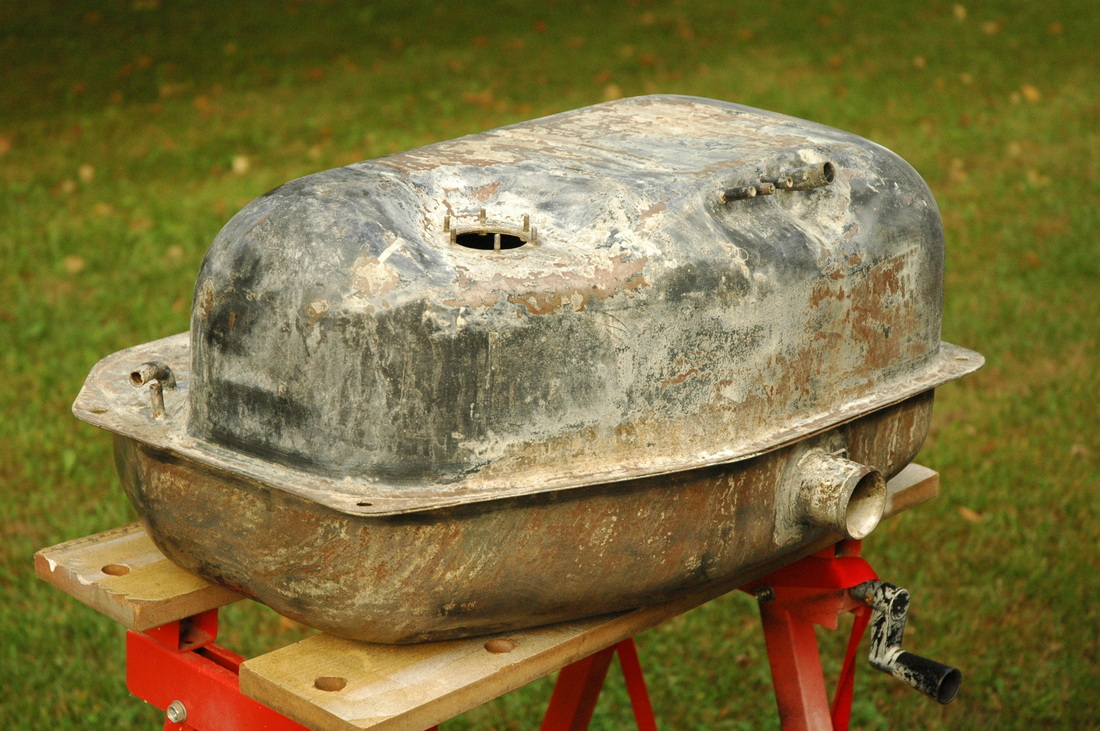
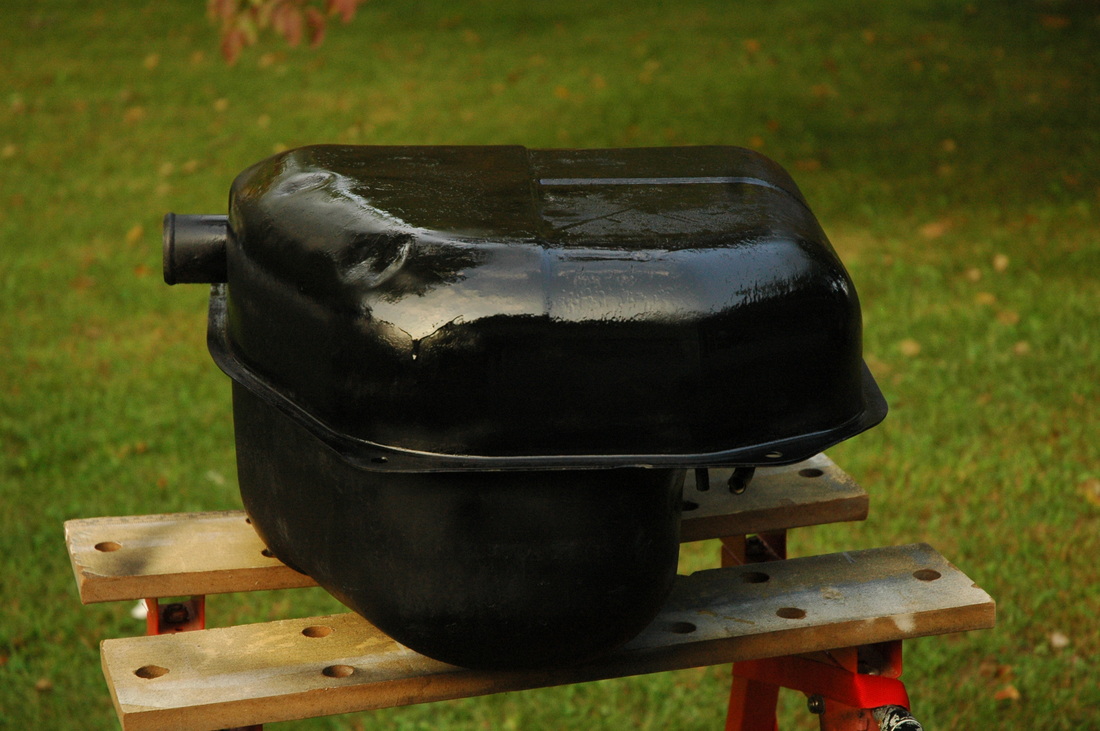
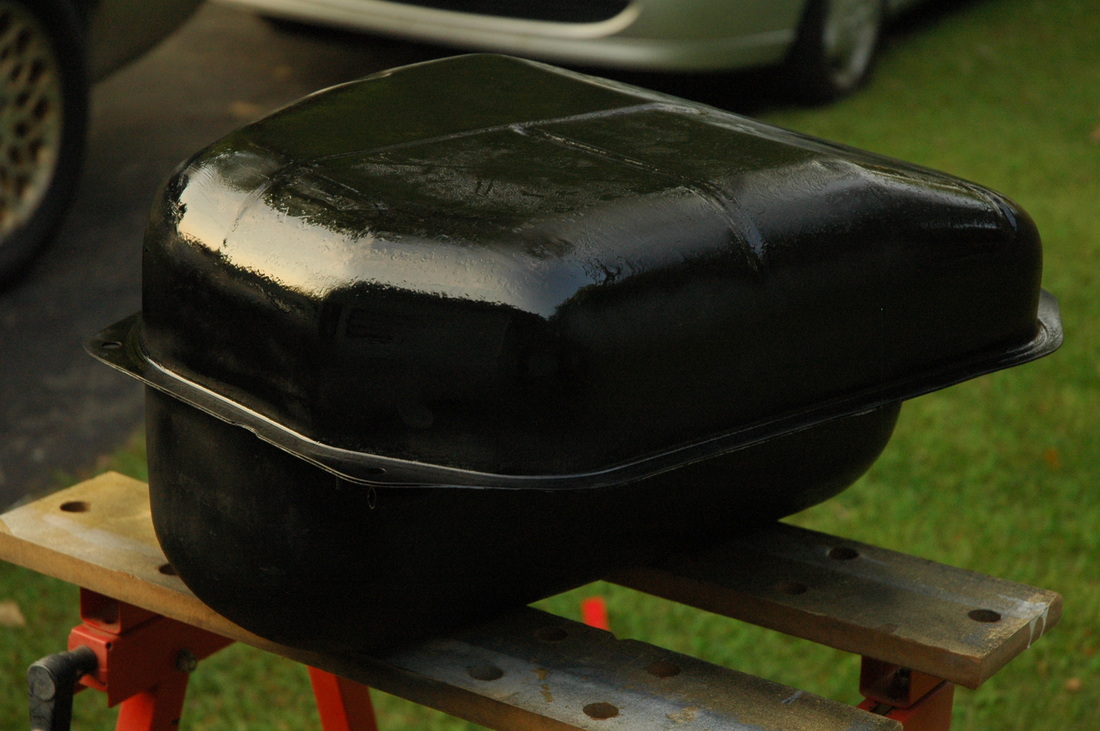
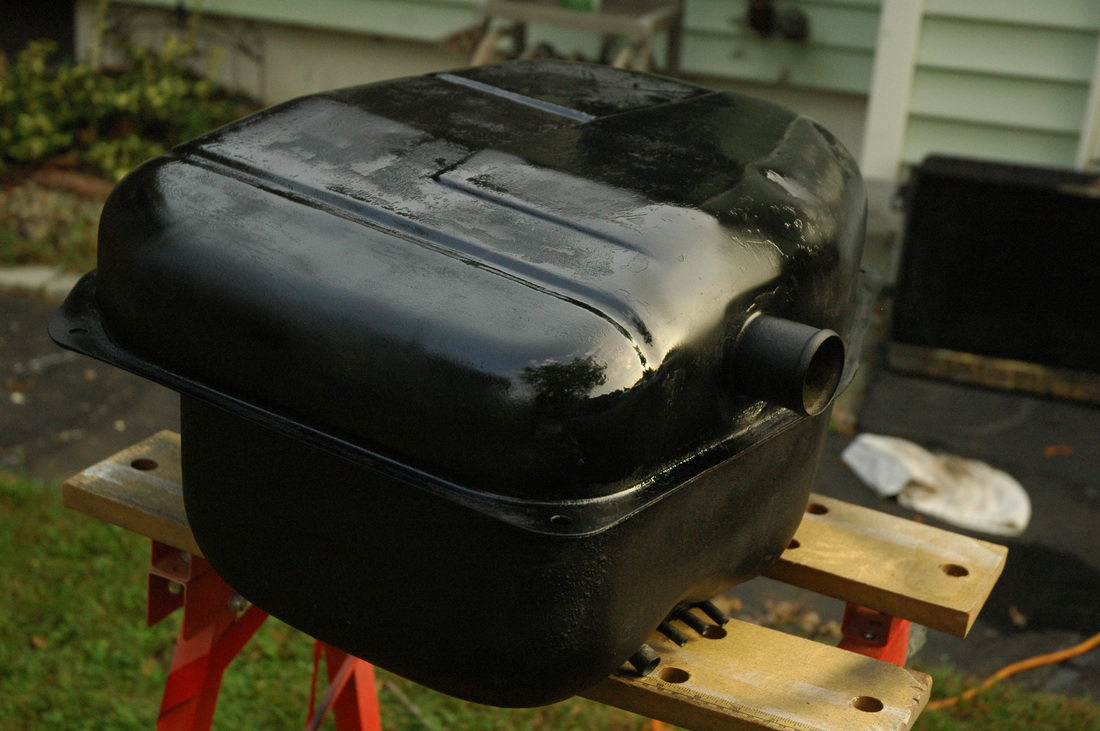
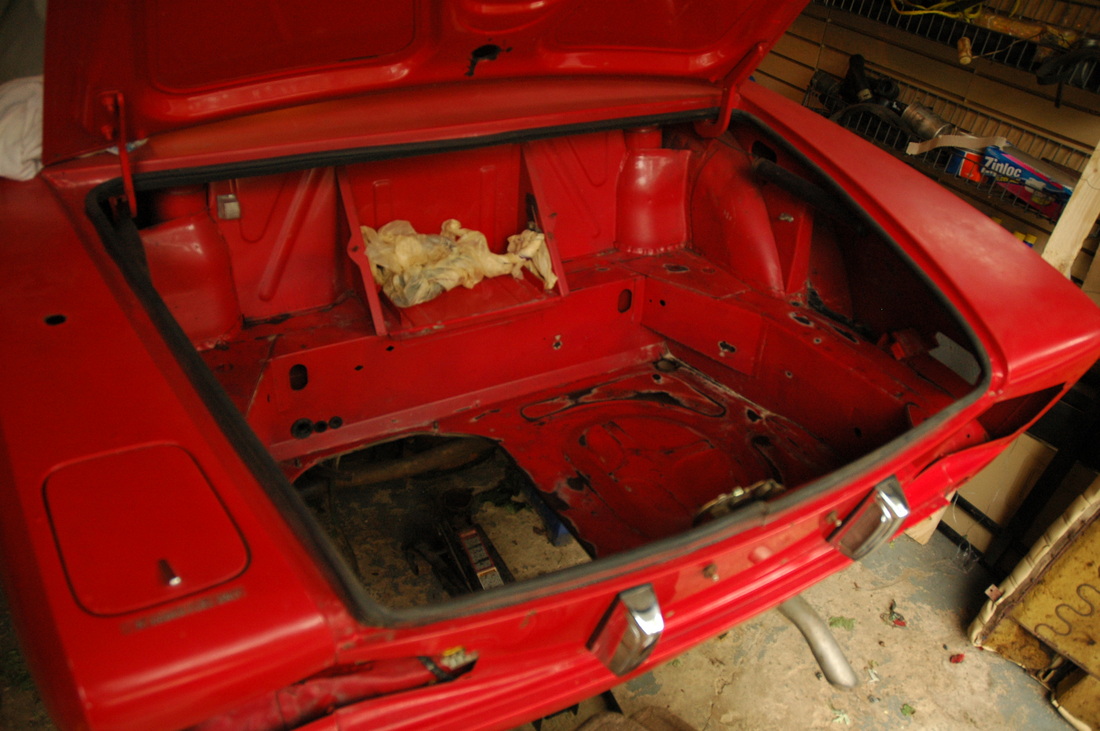
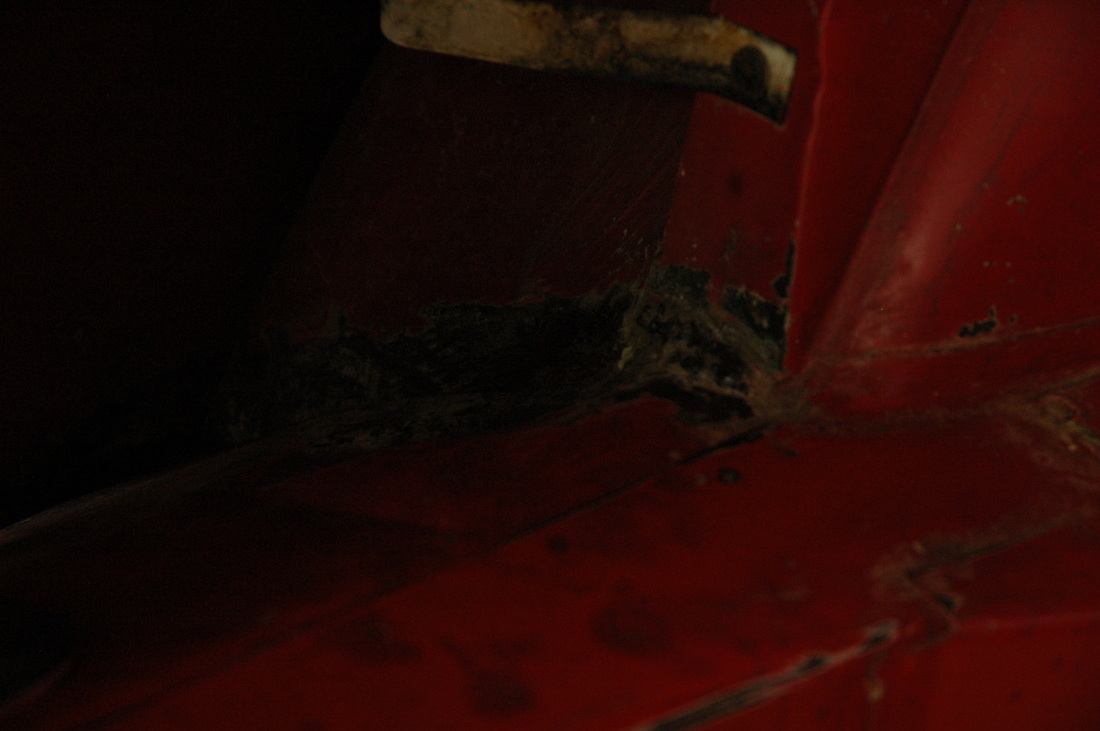
Today I spent over two hours trying to figure out what nuts to put on the sender unit of the Fiat Spider gas tank. After going to two different stores and returning the same nuts twiceI figured out the size. At the second store, the clerk recommended I use a die to re-cut the threads which had been filled in by previous applications of rust preventative. After re-cutting the threads it was obvious that the sender was held in by 4M .70 metric nuts. Once I replaced the missing nuts I was able to pressure test the tank and find that there were no leaks. That was a very exciting discovery. Most of my simple projects on this car usually require some sort of extra effort. Like patching the radiator (which was done), scraping rubber off the floor in the passenger compartment or finding missing pieces. It took me less time to wire brush and prep the tank for rust reform than it did to find the proper nuts for the sender unit. Who knew! I used Rustoleum Rust Reformer which has gotten pretty good reviews online. We shall see. Ideally I would have media blasted this tank and then painting, but it was too large for my cabinet. I think this application of product should protect the tank for years to come. The previous owner had already sealed the inside of the tank. If it begins to leak eventually I will use a two part gas tank epoxy to fix it. For now, enjoy the pictures. 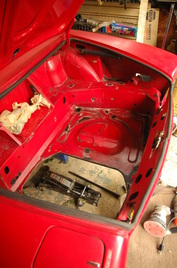 I need to get a bunch of parts from my uncle before I can continue on the engine. Yesterday I went under the car and prepped the area where the fuel lines will go. I scraped the area, cleaned and treated with rust preventative. After that I headed out to Harbor Freight to pick up a multifunction tool (more info below). I used the tool to clean up the trunk compartment. I need to remove flaked paint and rust bits so I could the treat for rust . After the rust treatment cures I will lightly sand the compartment and coat with a primer sealer. Hopefully I can get the trunk painted, the gas tank tested and installed and the fuel line installed in the coming weeks. Stay tuned! 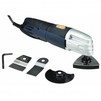 Multifunction tool. I opted for the pricier model because it came with more accessories and plugged into a conventional outlet. I did not want to battery powered model because I wanted power. I also didn't want to replace the battery every five minutes. This should work nicely removing the rubber flooring from the interior. Here is the tool at Harbor Freight. I have a stand alone store in Warwick. But they ship and are quick. | The MechanicStay at home father of four, living in a single income house and being the family mechanic. It's time for him to have some fun on the side. If you like what you're reading or enjoy the free template downloads, please donate to my Fiat Fund.

Use template at your own risk.
ArchivesAugust 2014 CategoriesAll The information on this blog is for informational purposes only. I'm not an expert in any shape or form. |


 RSS Feed