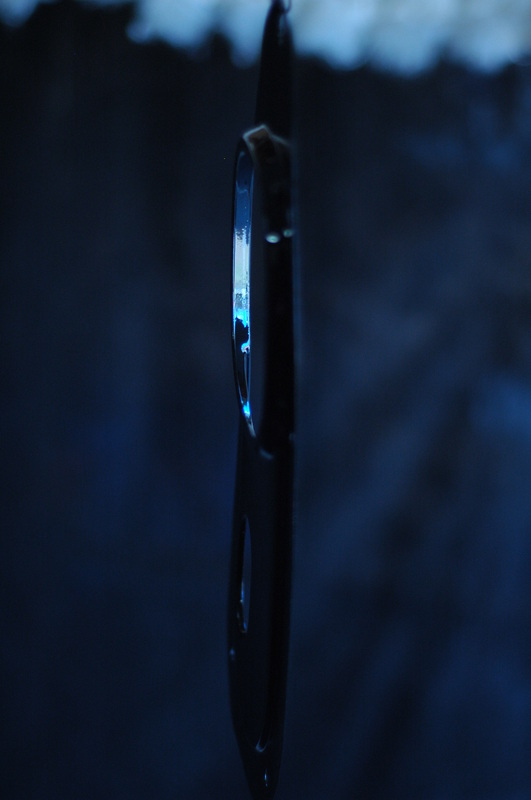
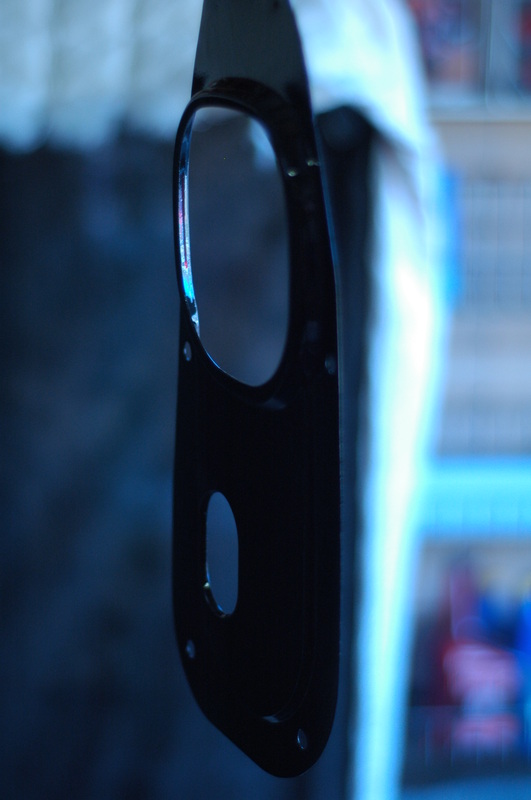
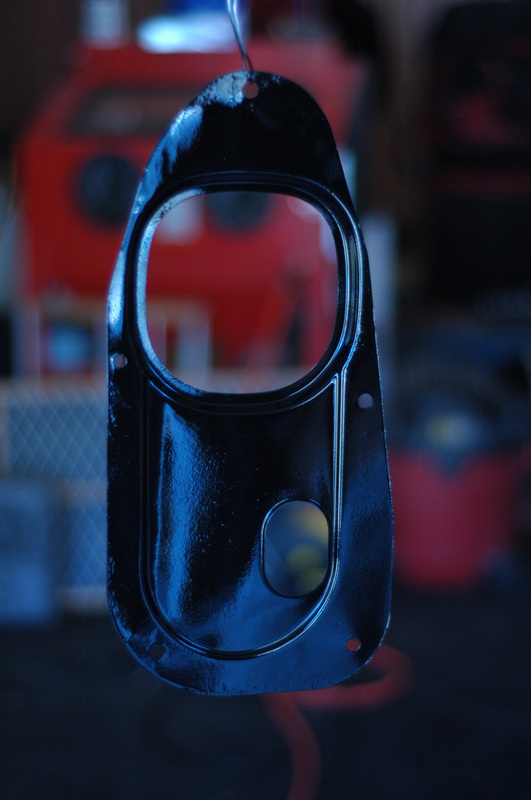
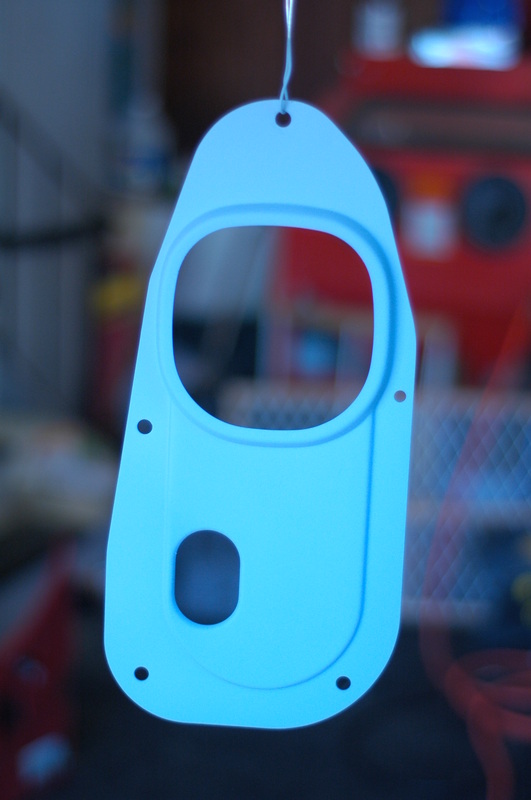
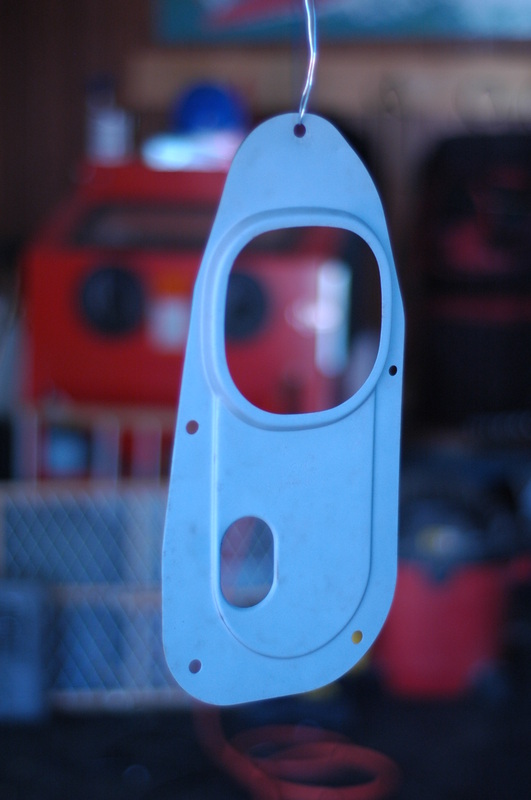
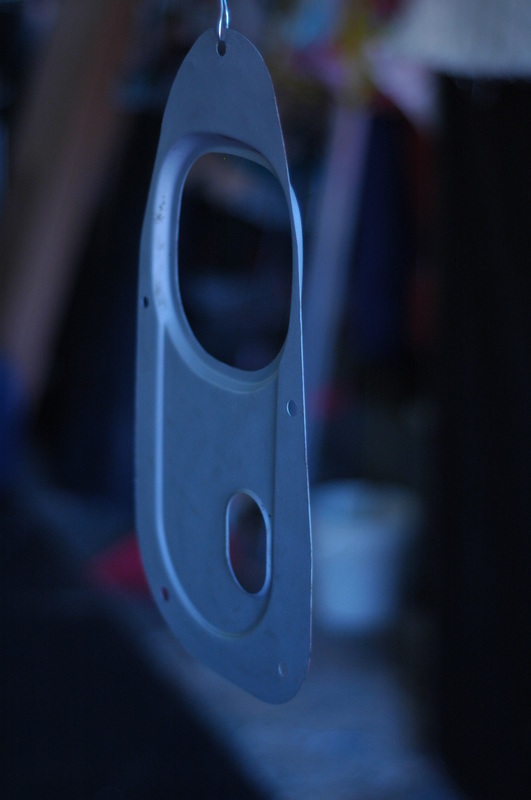
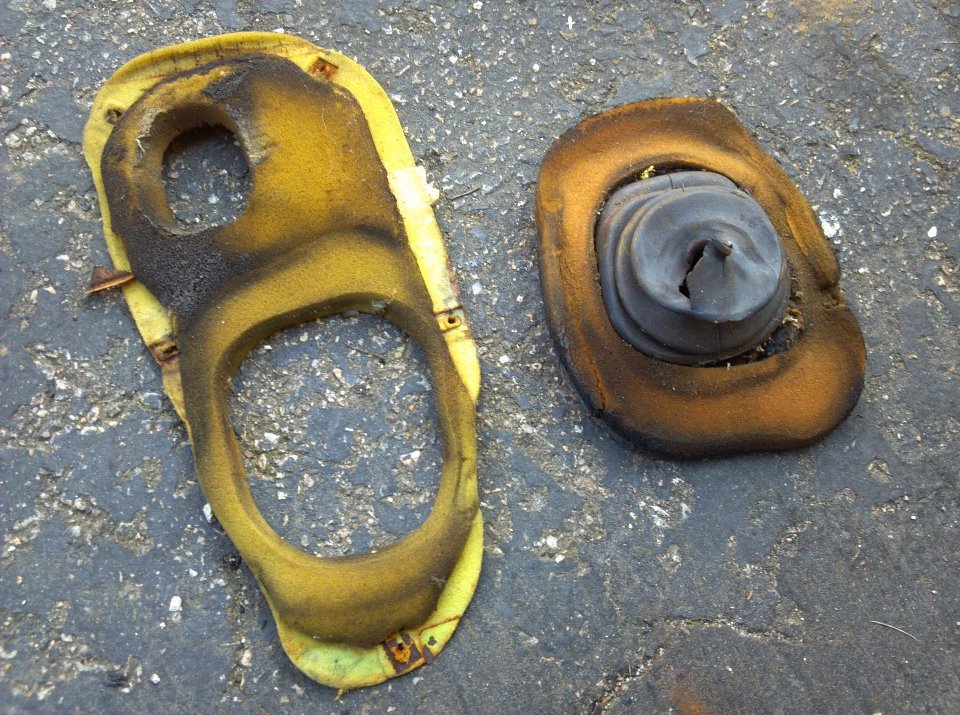
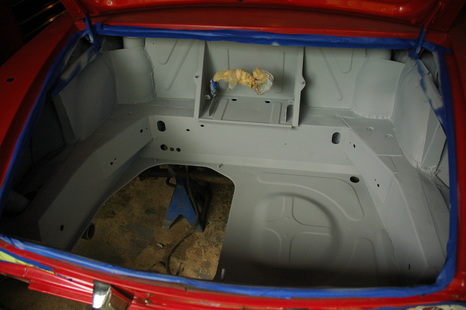
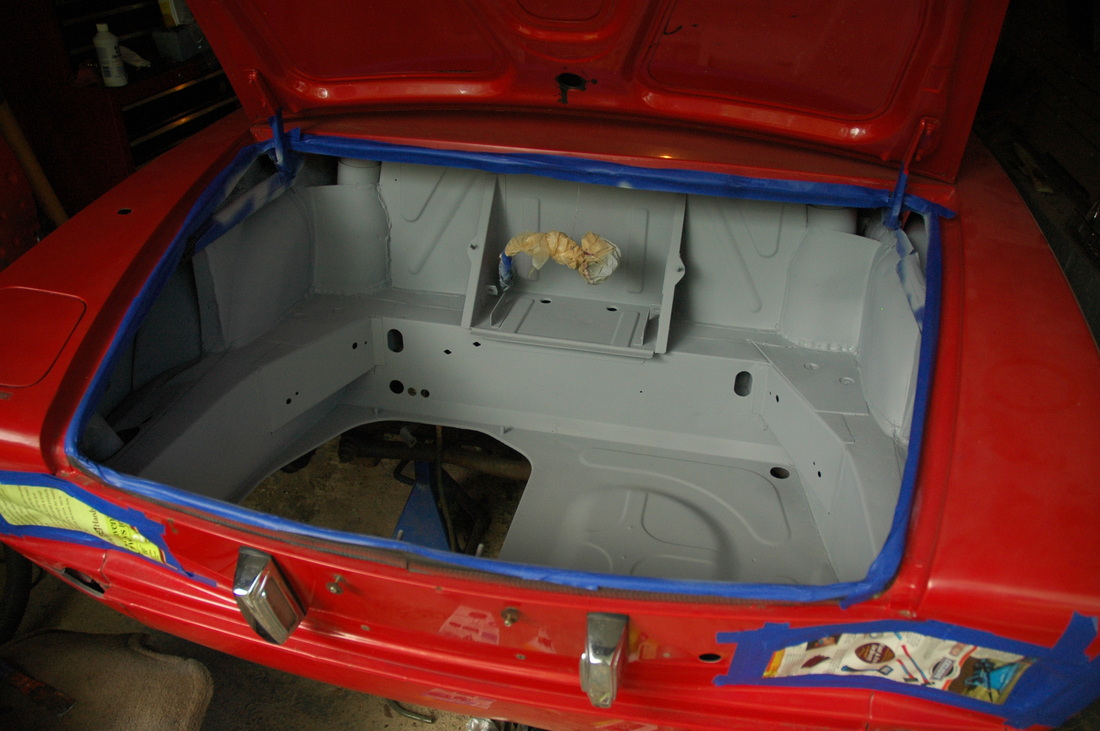
As you know I've been peeling up all the tar tiles off of the floor of the Fiat. Today I realized there was more on top of the transmission hump so scraped it all off. I also took the time to seek out any other little patches laying around that I had missed. Then I noticed that one of the tiles went under this shifter plate. Since I had to take out the plate I figured I'd media blast and refinish the part. I'm really happy I did. It was a little rusty, but now it looks great. I won't be able to see this part when I'm finished, but at least I know it will be well protected.
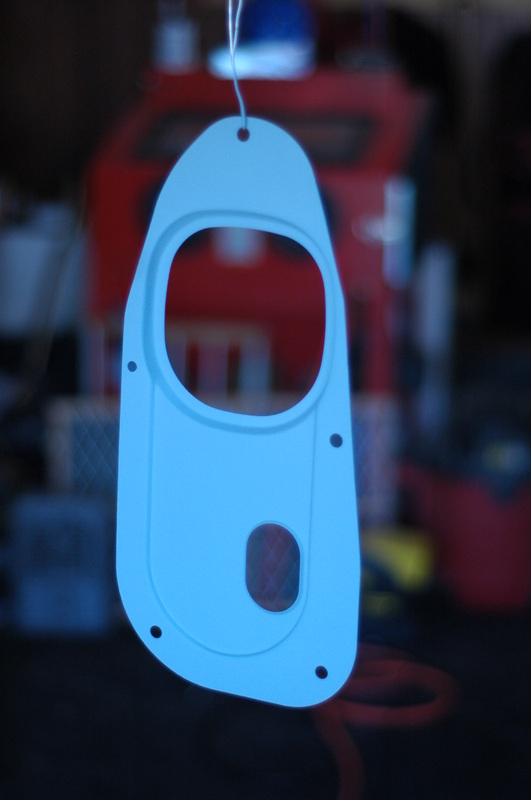
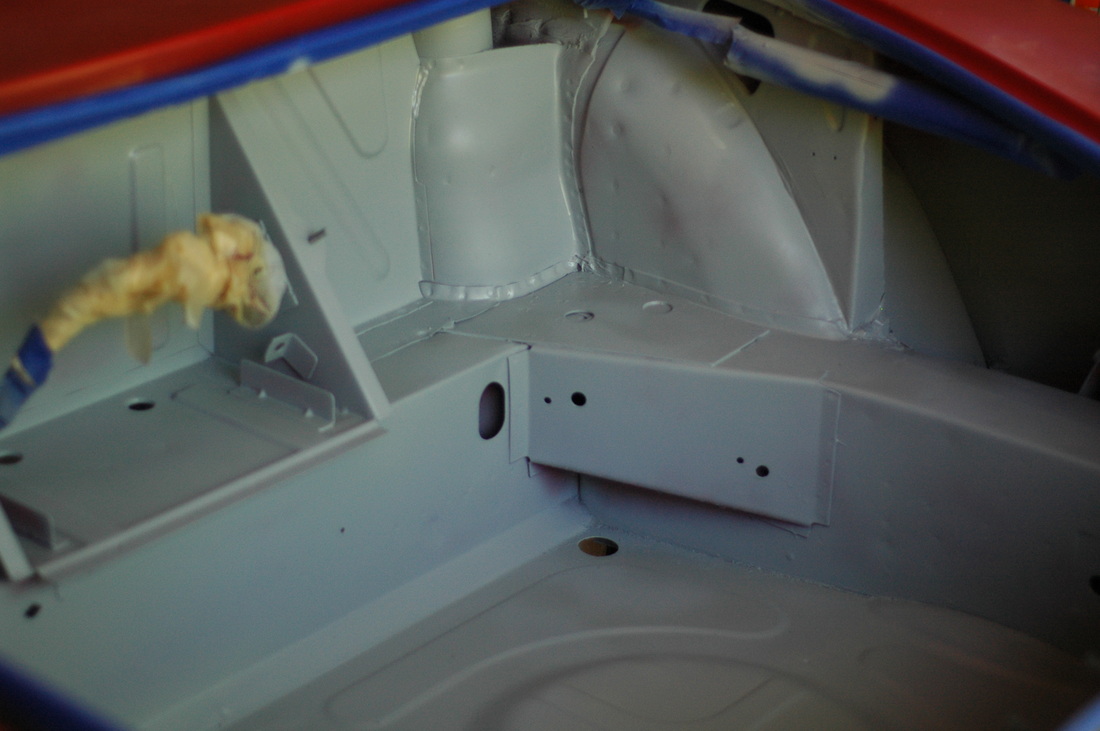
Unfortunately the inner boot and foam piece look absolutely disgusting and will need to be replaced. I didn't really want to spend any more money on the interior. I'm not really surprised though. I'm not really sure where I will get the parts yet, but I did find the inner boot online. But I want to find someone who sells both parts.
Unfortunately the inner boot and foam piece look absolutely disgusting and will need to be replaced. I didn't really want to spend any more money on the interior. I'm not really surprised though. I'm not really sure where I will get the parts yet, but I did find the inner boot online. But I want to find someone who sells both parts.


 RSS Feed