I wish I had the time and the money to strip the car down like this. Maybe if I lived in Italy where it might be A LITTLE easier to get parts.
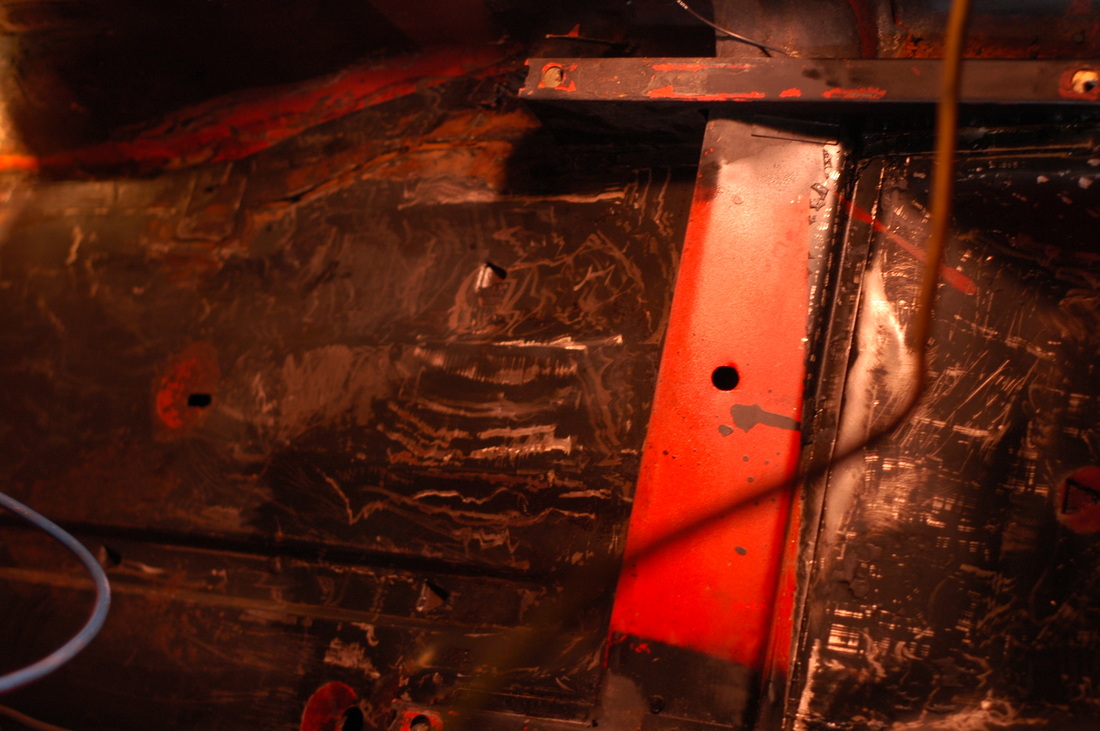
Last night I had my buddy over to help me figure out wiring. Two heads are always better than one. PLUS! It's a lot more fun to work on a car if you've got company. Even if the other person is drinking a beverage and watching. I figured I'd share the wiring labels with you in case you need them! They aren't quite finished and I'm not 100% sure they are all perfect, but I think it will get you most of the information you'll need. Also, I will update the information as I assemble the car and are certain I was right. Until then, here is a slide show of the labels with captions. If anything is wrong I will site it in the captions. Wiring information for 1981 Fiat Spider 2000How exciting! Surely ahead of it's time! Can you hear the sarcasm? In any event, the Spider did in fact have fiber optics when it came out. I discovered this amazing fact today when I found a stray black plastic tube. I saw that there were three other identical tubes running to my heater console. Sure enough they were all the lighting elements for my heating system (which may or may not work). Each of these fiber optic cables is held on by a little white clamp. My heart skipped a beat. Did I have this clamp? Could I find it? I went to my uncle's pile of Fiat bits and after a while of rummaging, found the piece I needed. With a steady hand and some forceps I was able to reattach the light. Let there be light!! 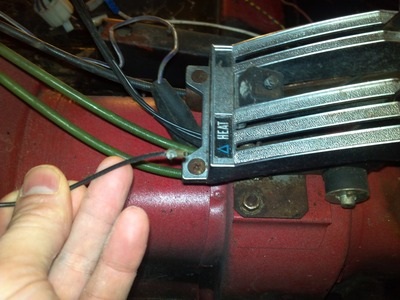 After tearing everything up with the multi tool I had bits of tar all over. A speck here and a speck there. I decided to grab my paint thinner and soak a rag and lay it on problem areas. After letting it sit for a while any residue was easily wiped up with an extra rag. There are a few areas where the tar is still caked on pretty good and I'll need to do some detailed scraping. After it's gone, I'll do some more wiping and hopefully I'll be ready to sand it down and then paint it with Master Series Silver. That will be top coated with gloss black Rustoleum Rust Coat. 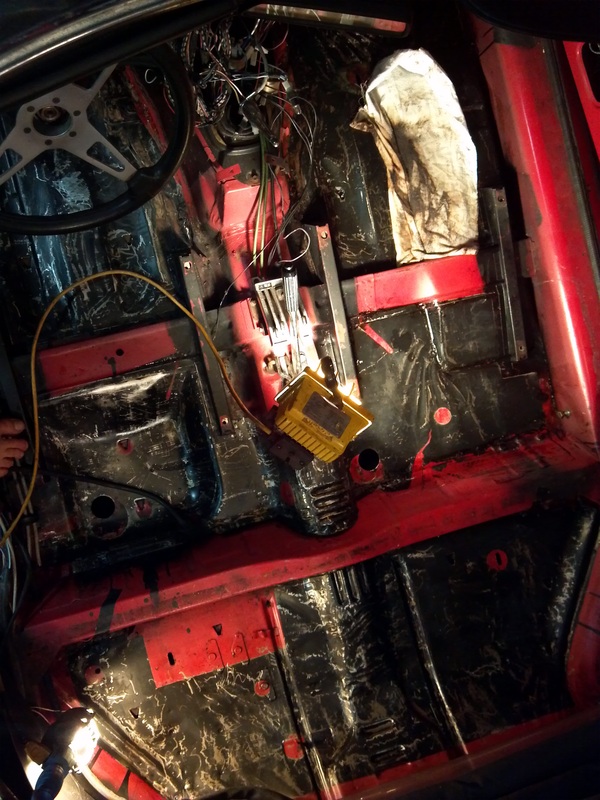
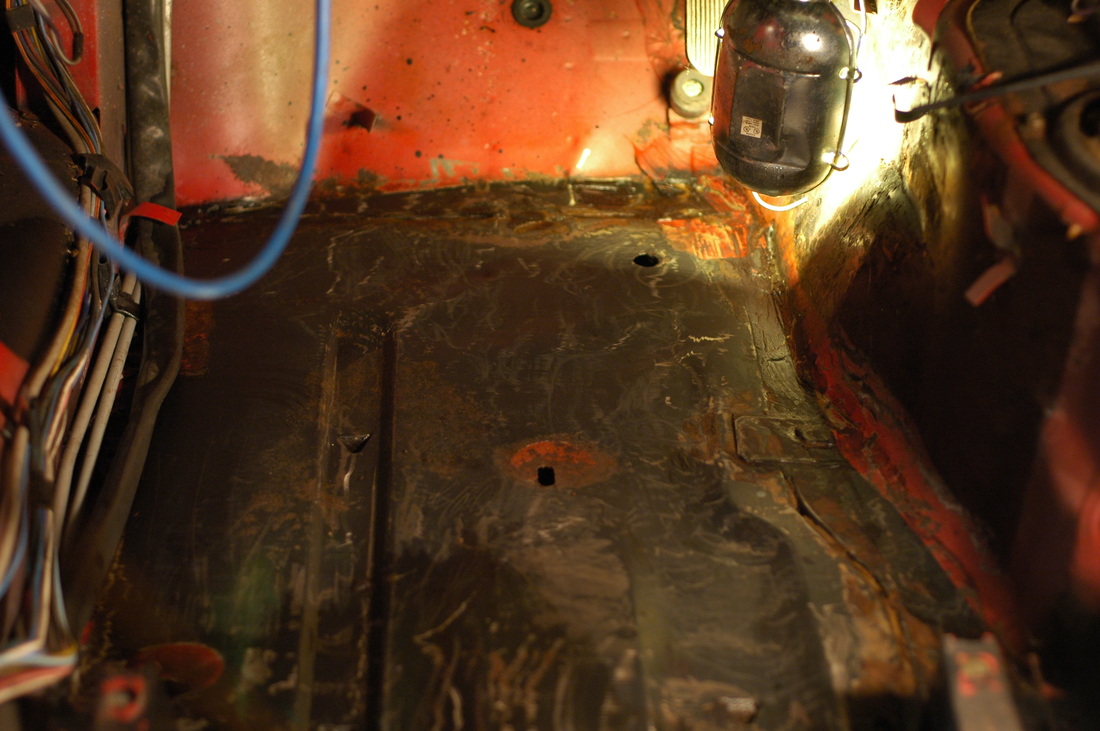
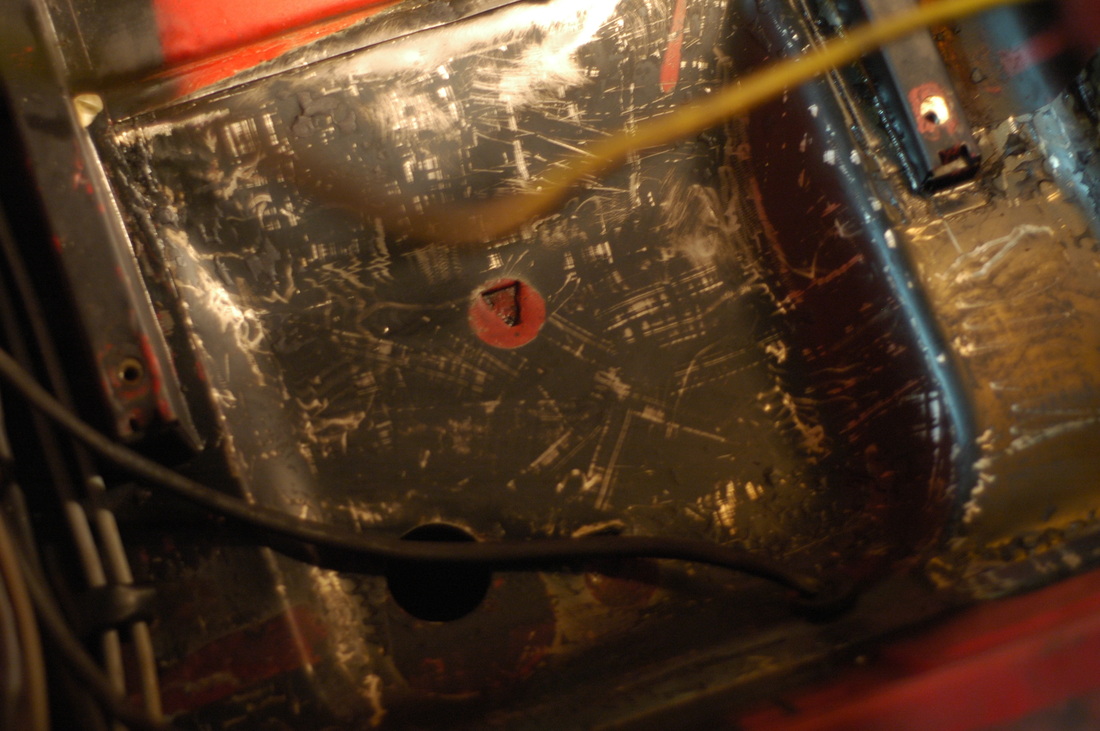
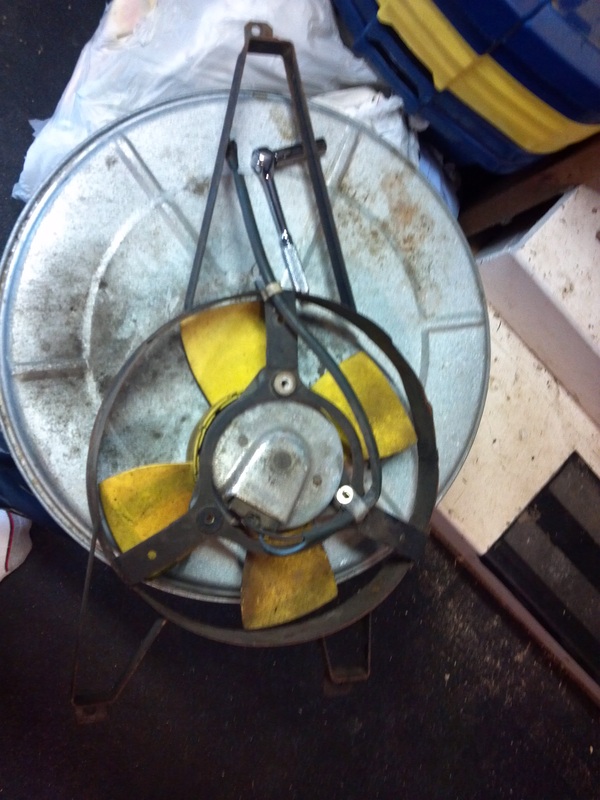
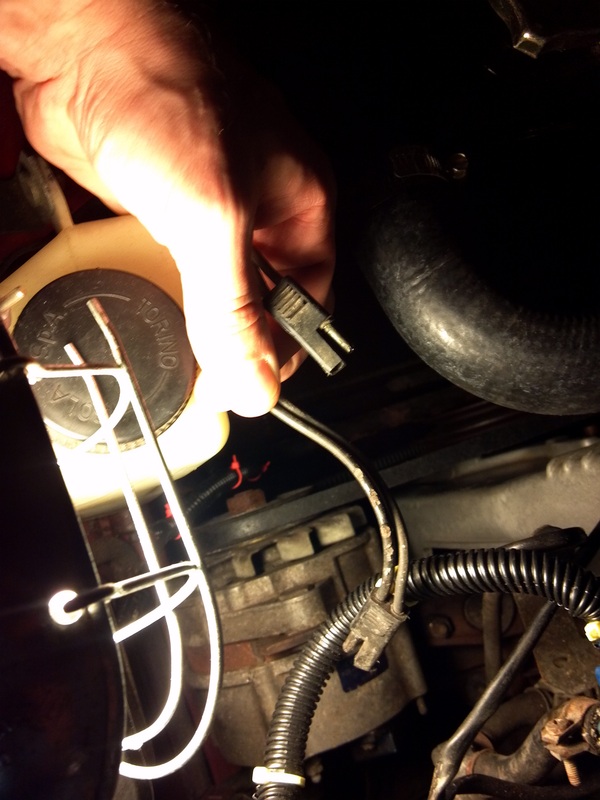
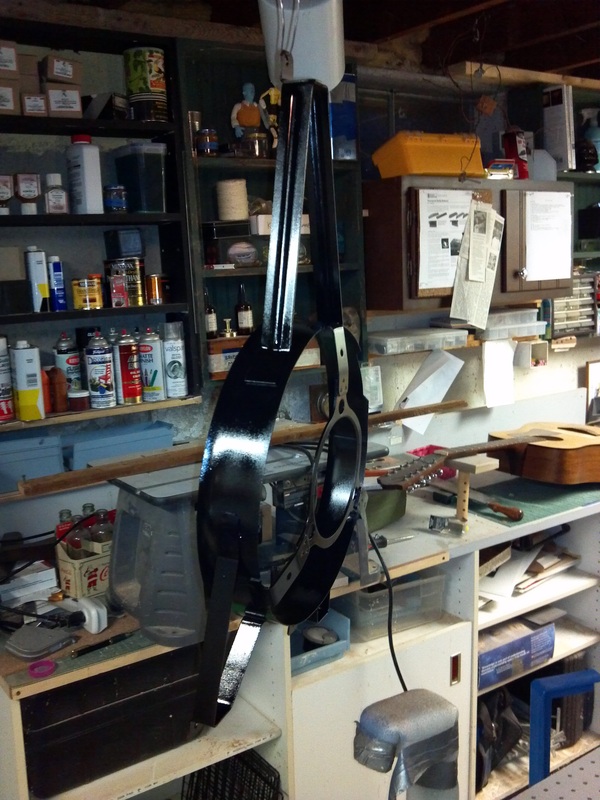
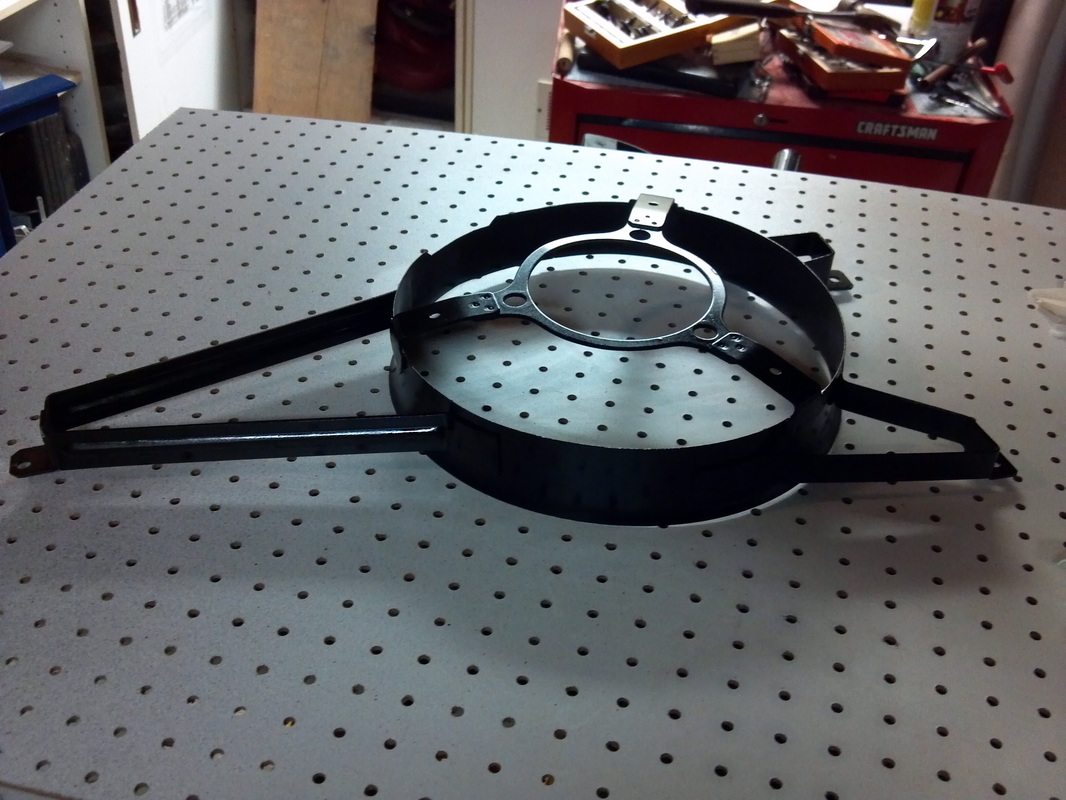
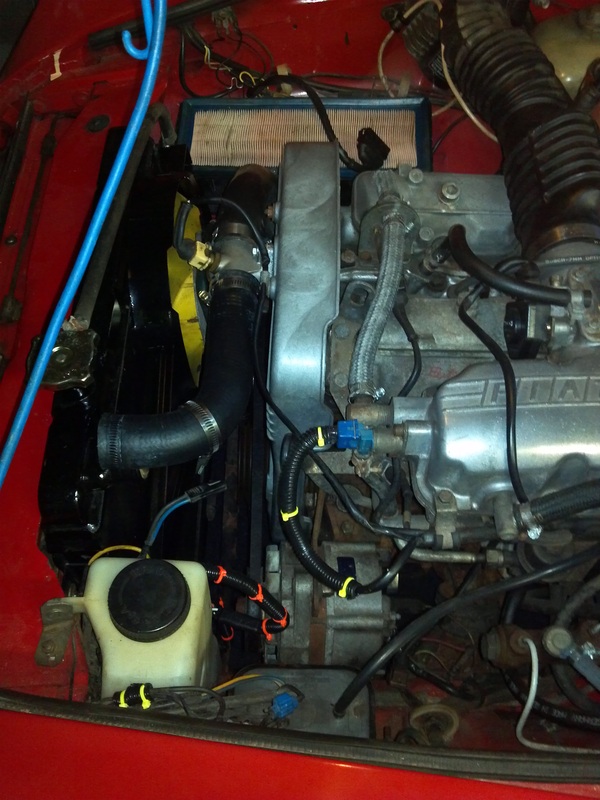
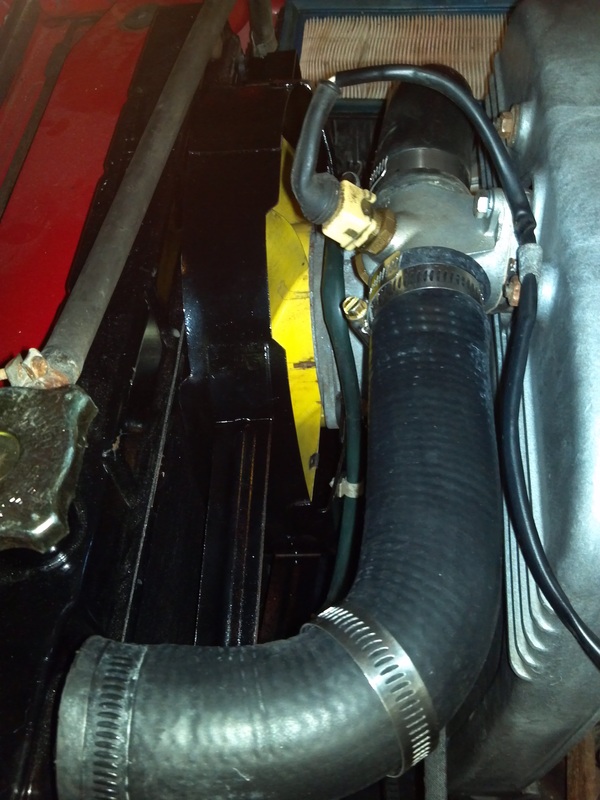
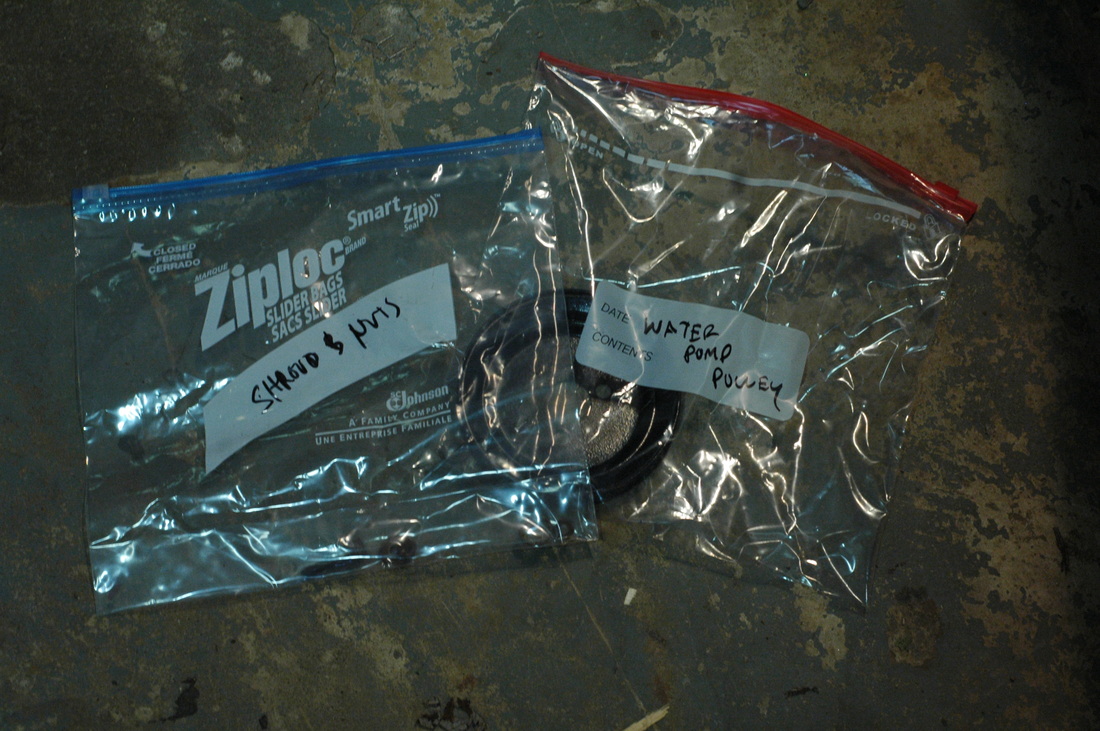
Chipped up some flooring today. From what I can tell, there's not a lot of rust. I'm not going to go CRAZY here, but I do want to remove as much as possible. I used a multitool set to high RPM to zip it off. Then I wiped it down with paint thinner. I have some spots to address still. It took me about an hour to do this. I need to do the other side and the back seat. I will be painting the floor with Master Series Silver and then top coating with Rustoleum Rust Coat. A fun garage tip: If you blast 80s techno-pop while you work on your 80s car, you'll feel like your are in an 80s movie montage. Unfortunately, this practice does not make time go by faster, but it makes it FEEL like it's going faster. In a typical 80s film, a job like this would take approximately thirty seconds with a little Tears for Fears background musice. A lot of people talk about "the brown wire fix" for the Fiat Spider. I've heard about it and until recently haven't researched it much. Today I did some digging. I found a great article describing what to do and what issues it helps you avoid. Since I can't really do too much painting work on the Fiat until New England warms up, I'm going to take the opportunity to tackle small projects throughout the car. One of which will be following the instructions in this article. All it requires is purchasing a #10 wire and running it from the starter stud up to the #30 port on the back of the ignition switch. I'll report progress when I'm finished. On Christmas eve I picked up my fan and shroud from Uncle Fiat. I was super excited. I felt like Indiana Jones getting the last piece of an ancient puzzle. I had a lot of work to finish this week, but after it was done I quickly media blasted the fan and primed and painted it. It came out nice and pretty. This morning after letting it dry for a day I decided to try and put it in. I realized that it would be a lot easier if I removed some of the radiator hoses that I just had installed. Luckily no fluid was in the system yet. I also found out that the lowest screw on the shroud is much easier to reach if you remove the air filter cover (see pictures below). I was able to get two bolts in loosely, but the third lowest bolt hole is slightly off. I will require a helper to jiggle the shroud as I try and thread the bolt in. No big deal. So right now I have the hoses and air filter disassembled until I can get a friend over. I'm in no rush. I need to do some welding on the rear drivers side fender and replace some metal behind the rockers. After that is taken care of I will be able to gas up the tank and see if this beast starts. I suppose I'll need to buy a battery as well. Enjoy the pics. (on a side note. I was lucky enough to get my Uncle as Secret Santa. He provided me with some upgraded Xenon headlight fixtures. I'm pretty jazzed about that) With little effort I was able to get the timing belt installed. I had some issue figuring out how to get the tensoner bearing fully loose. You must loosen the center bolt and the lower right bolt for it to pivot. After the timing marks were aligned, I simply popped off the old timing belt and carefully put it back on. I'm sure the timing will need to be checked if the car ever starts. When I was finished with the timing belt, it was time for me to install the water pump and alternator belt. This should have been simple, but when I put the water pump pulley back on I did it backwards. Obviously, since the pulley is not symmetrical the belt did not line up. It took me a little while to realize what I had done. Once I was finished with the belt I thought I'd start to put the hoses back on. Unfortunately I lost the gasket for the tee joint on the block which prevented me from proceeding. It's always something small and silly. So, as soon as I can I will order that .95cent part off the internet and pay $6 in shipping... I also need to head down to the local auto parts store and pick up some hose clamps to make my life easier. I looked ahead in the line of "things to do" on the Fiat and also realized that I need a gasket for the air flow meter. I need to do some more research and figure out any other parts that may be missing so I'm not slowed down the line. A lot of the things I can get locally, but things like gaskets and car specific parts need to be ordered. Today I replace the timing belt. Judging by the instructions I have found online it should be pretty easy. After removing the radiator and all the hoses, the cover shroud and of course the water pump pulley, you can then align all the timing markers, loosen both tensioner bolts and slip the timing belt off. There's not a lot of room down by the crank to sneak it out, but I'm told it can be done without removing the crank pulley. Wish me luck. Pictures to come.
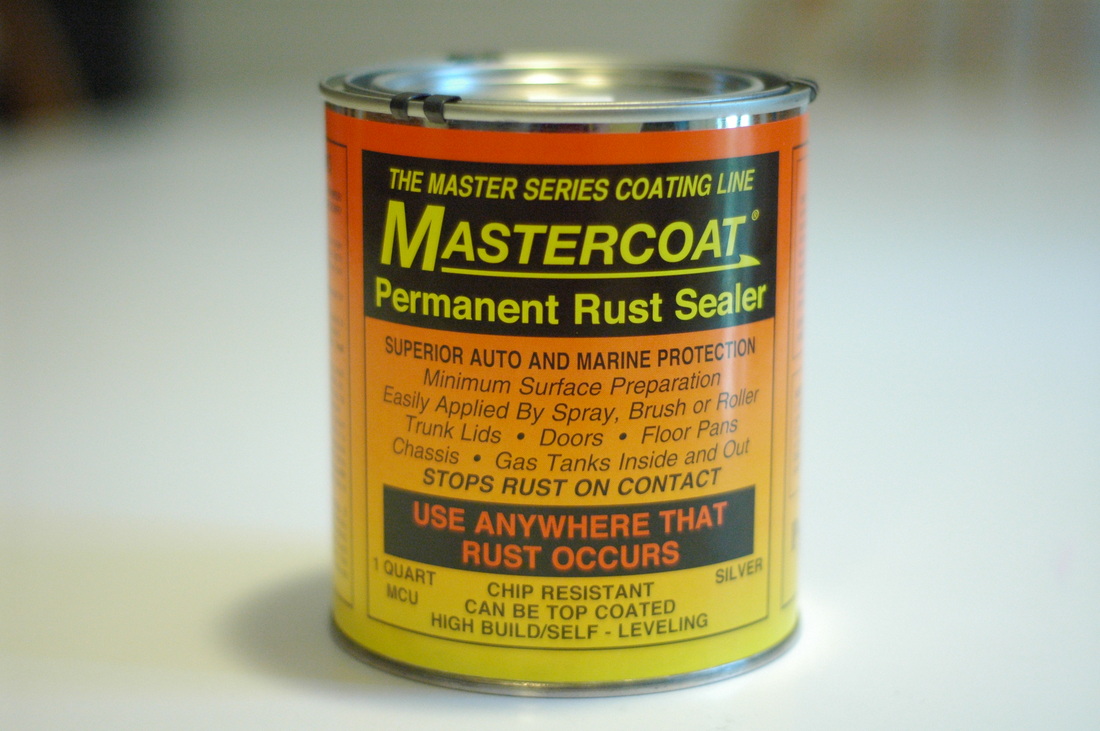
I'm super excited that my Master Series Silver has arrived. I only wish I had time to work on the interior. I need to strip the floor. sand it, clean it, prep it and seal it with this amazing rust sealer. I've heard great things about it. I'm looking forward to finishing off the interior. I can top coat this product. It supposedly has a great tooth for adhesion. We'll see! I hope I can free up some time to work on the Spider. It's killing me. Still no news on the timing belt or tensioner pulley installation. Hopefully soon. | The MechanicStay at home father of four, living in a single income house and being the family mechanic. It's time for him to have some fun on the side. If you like what you're reading or enjoy the free template downloads, please donate to my Fiat Fund.

Use template at your own risk.
ArchivesAugust 2014 CategoriesAll The information on this blog is for informational purposes only. I'm not an expert in any shape or form. |


 RSS Feed